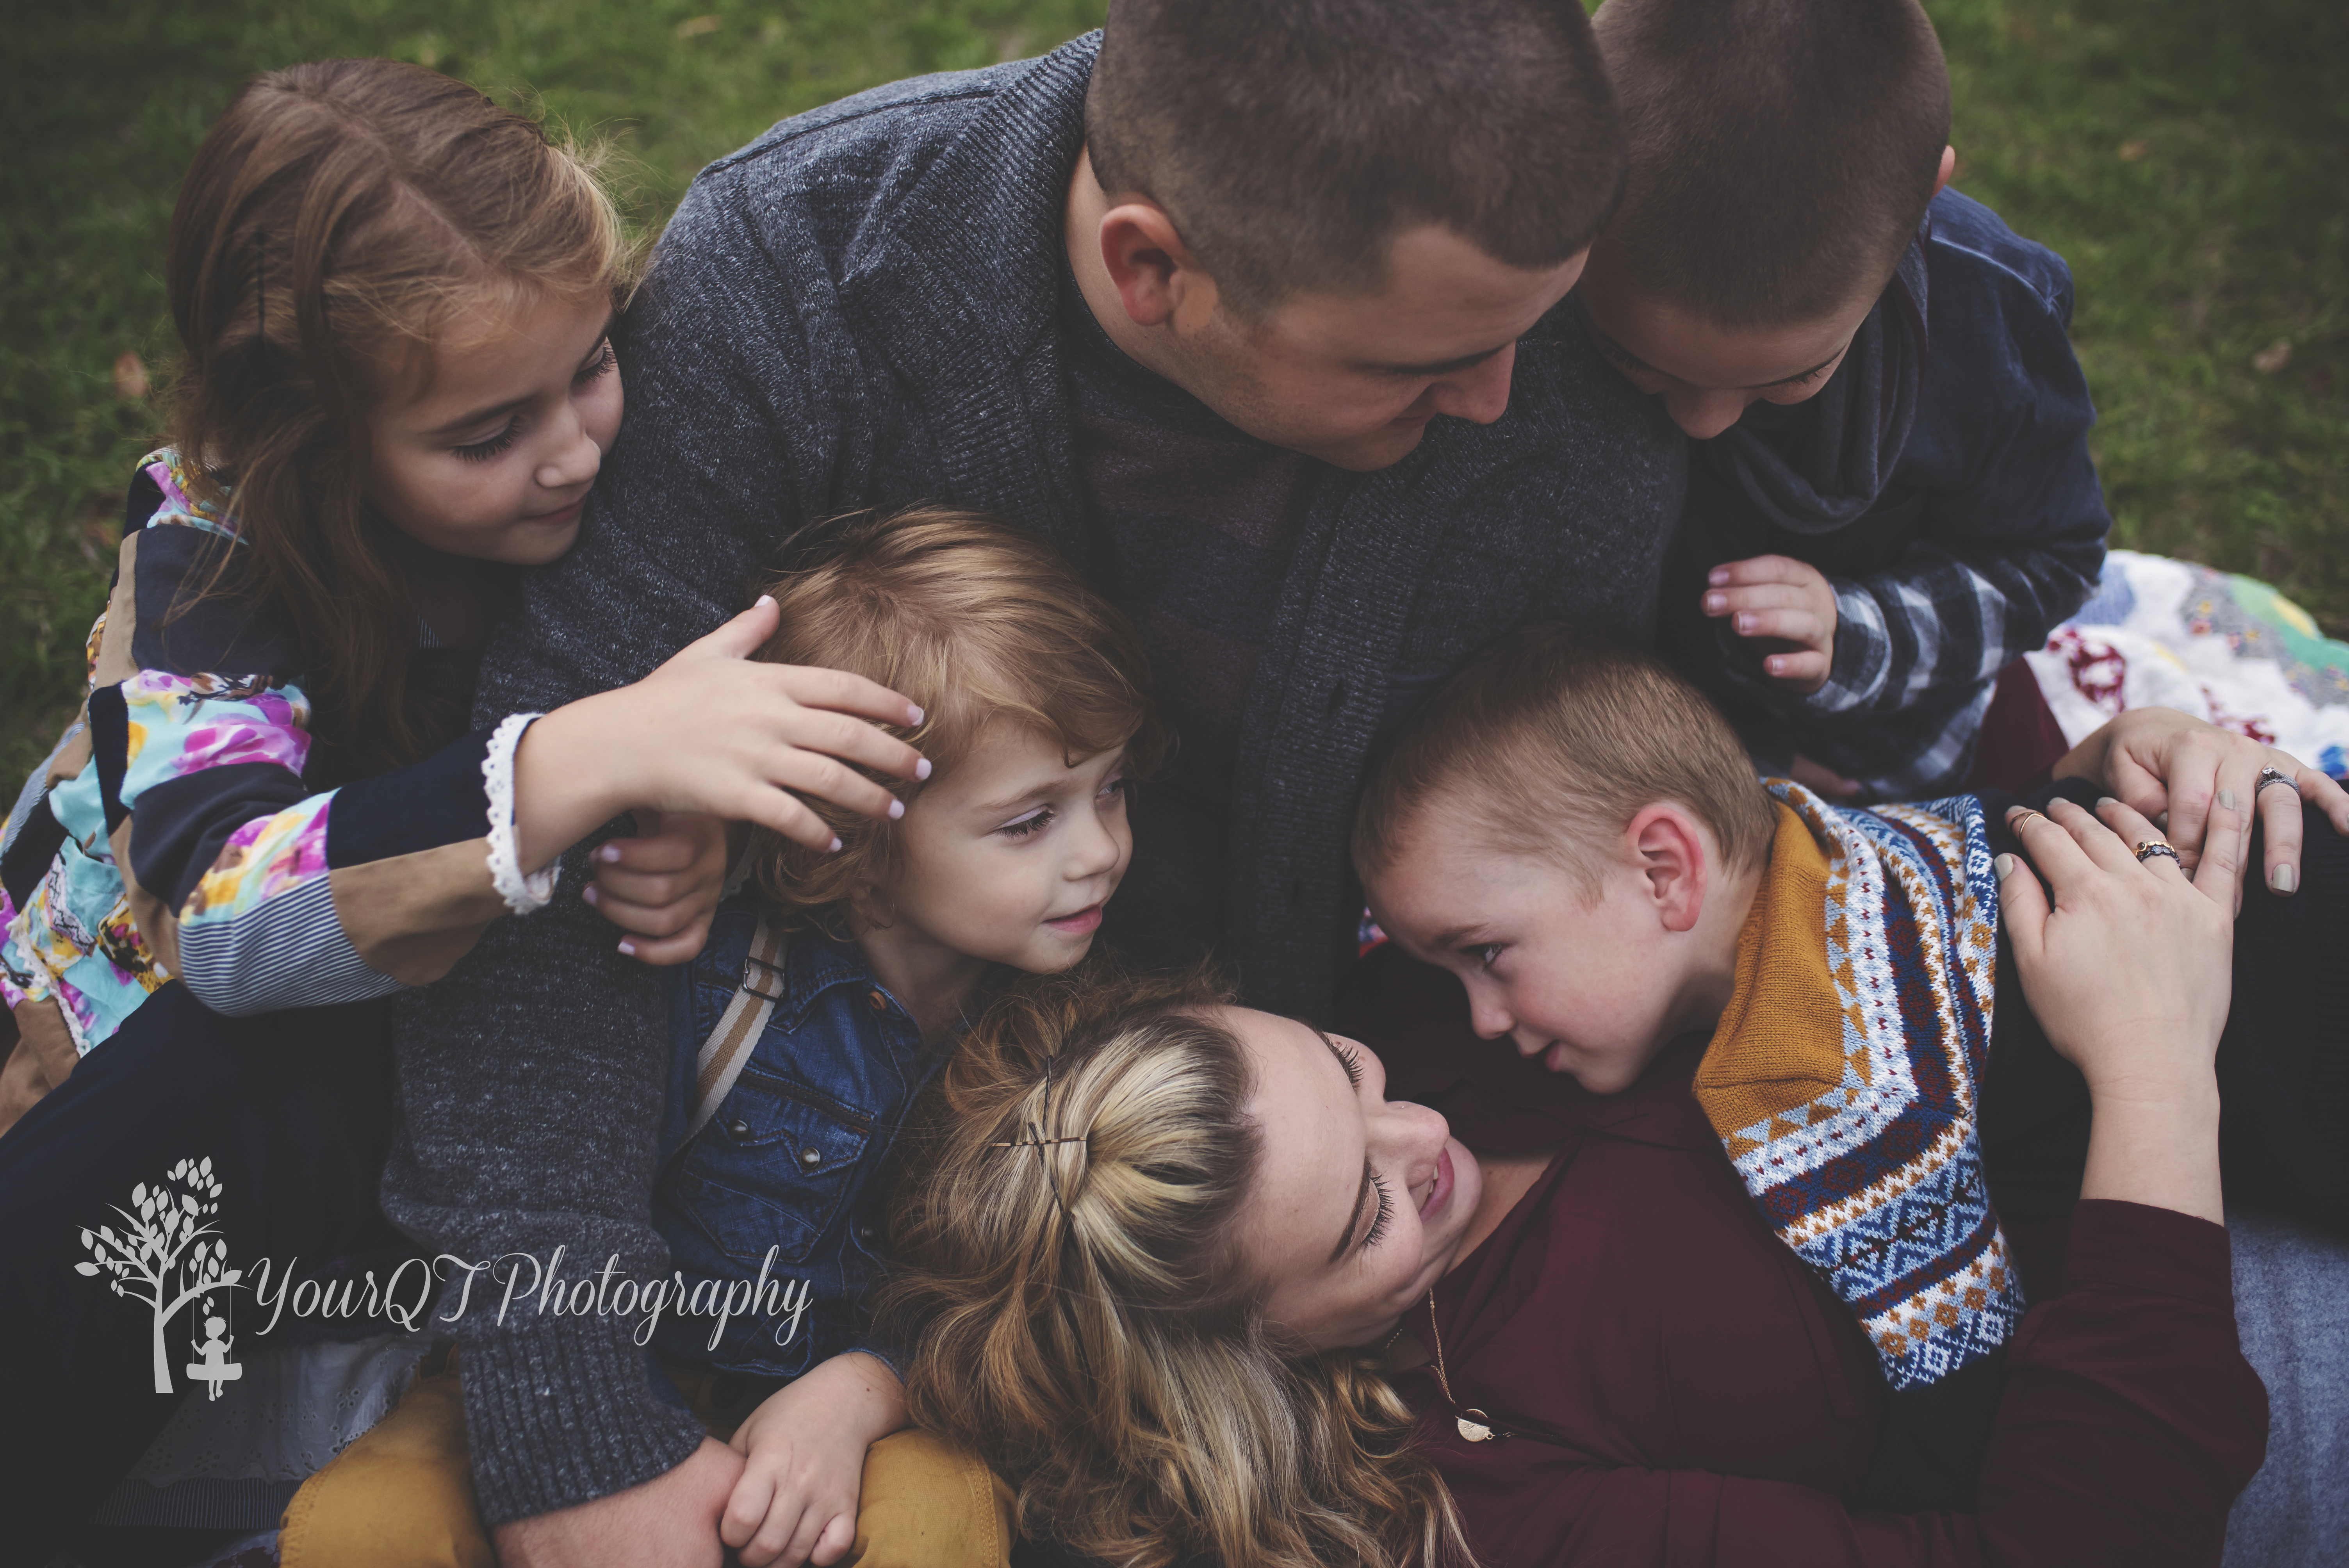
What to wear for your session is one of the most important elements of the entire session. It can also be one of the HARDEST parts of a session! Many times it’s forgotten till the last minute, resulting in a stressed out and frustrated mom who is wishing the session was just over. There is no need for this! Here are 10 tips to create a photo ready wardrobe ahead of time, to have less stress the day of and create timeless images you will be thrilled to see above your mantel every day.
1. DO NOT LEAVE FIGURING OUT OUTFITS UNTIL RIGHT BEFORE YOUR SESSION!! Why is that in caps? Is it because I intend to yell at you? NO! It’s because even I, as a photographer, need this very important reminder! As soon as you choose your photographer, you should start planning your wardrobe. Some items you may need to purchase online, and you do NOT want to be stressing about that close to session time.
2. A lot of times we love picking our children’s outfits and it seems much easier- so we go with their outfits first. Then we are stuck trying to make our outfit work with what we have chosen for them. Instead- pick YOUR outfit first, then dress the children and dad- you will be much happier and comfortable knowing you are wearing something you feel comfortable and beautiful in.
3. Dress to your strengths/body shape. Don’t just wear an outfit you saw in a picture somewhere just because that person rocked that outfit! Dress to what looks best on you- High waisted skirts? Blazers? Or sundresses? What looks good on you?
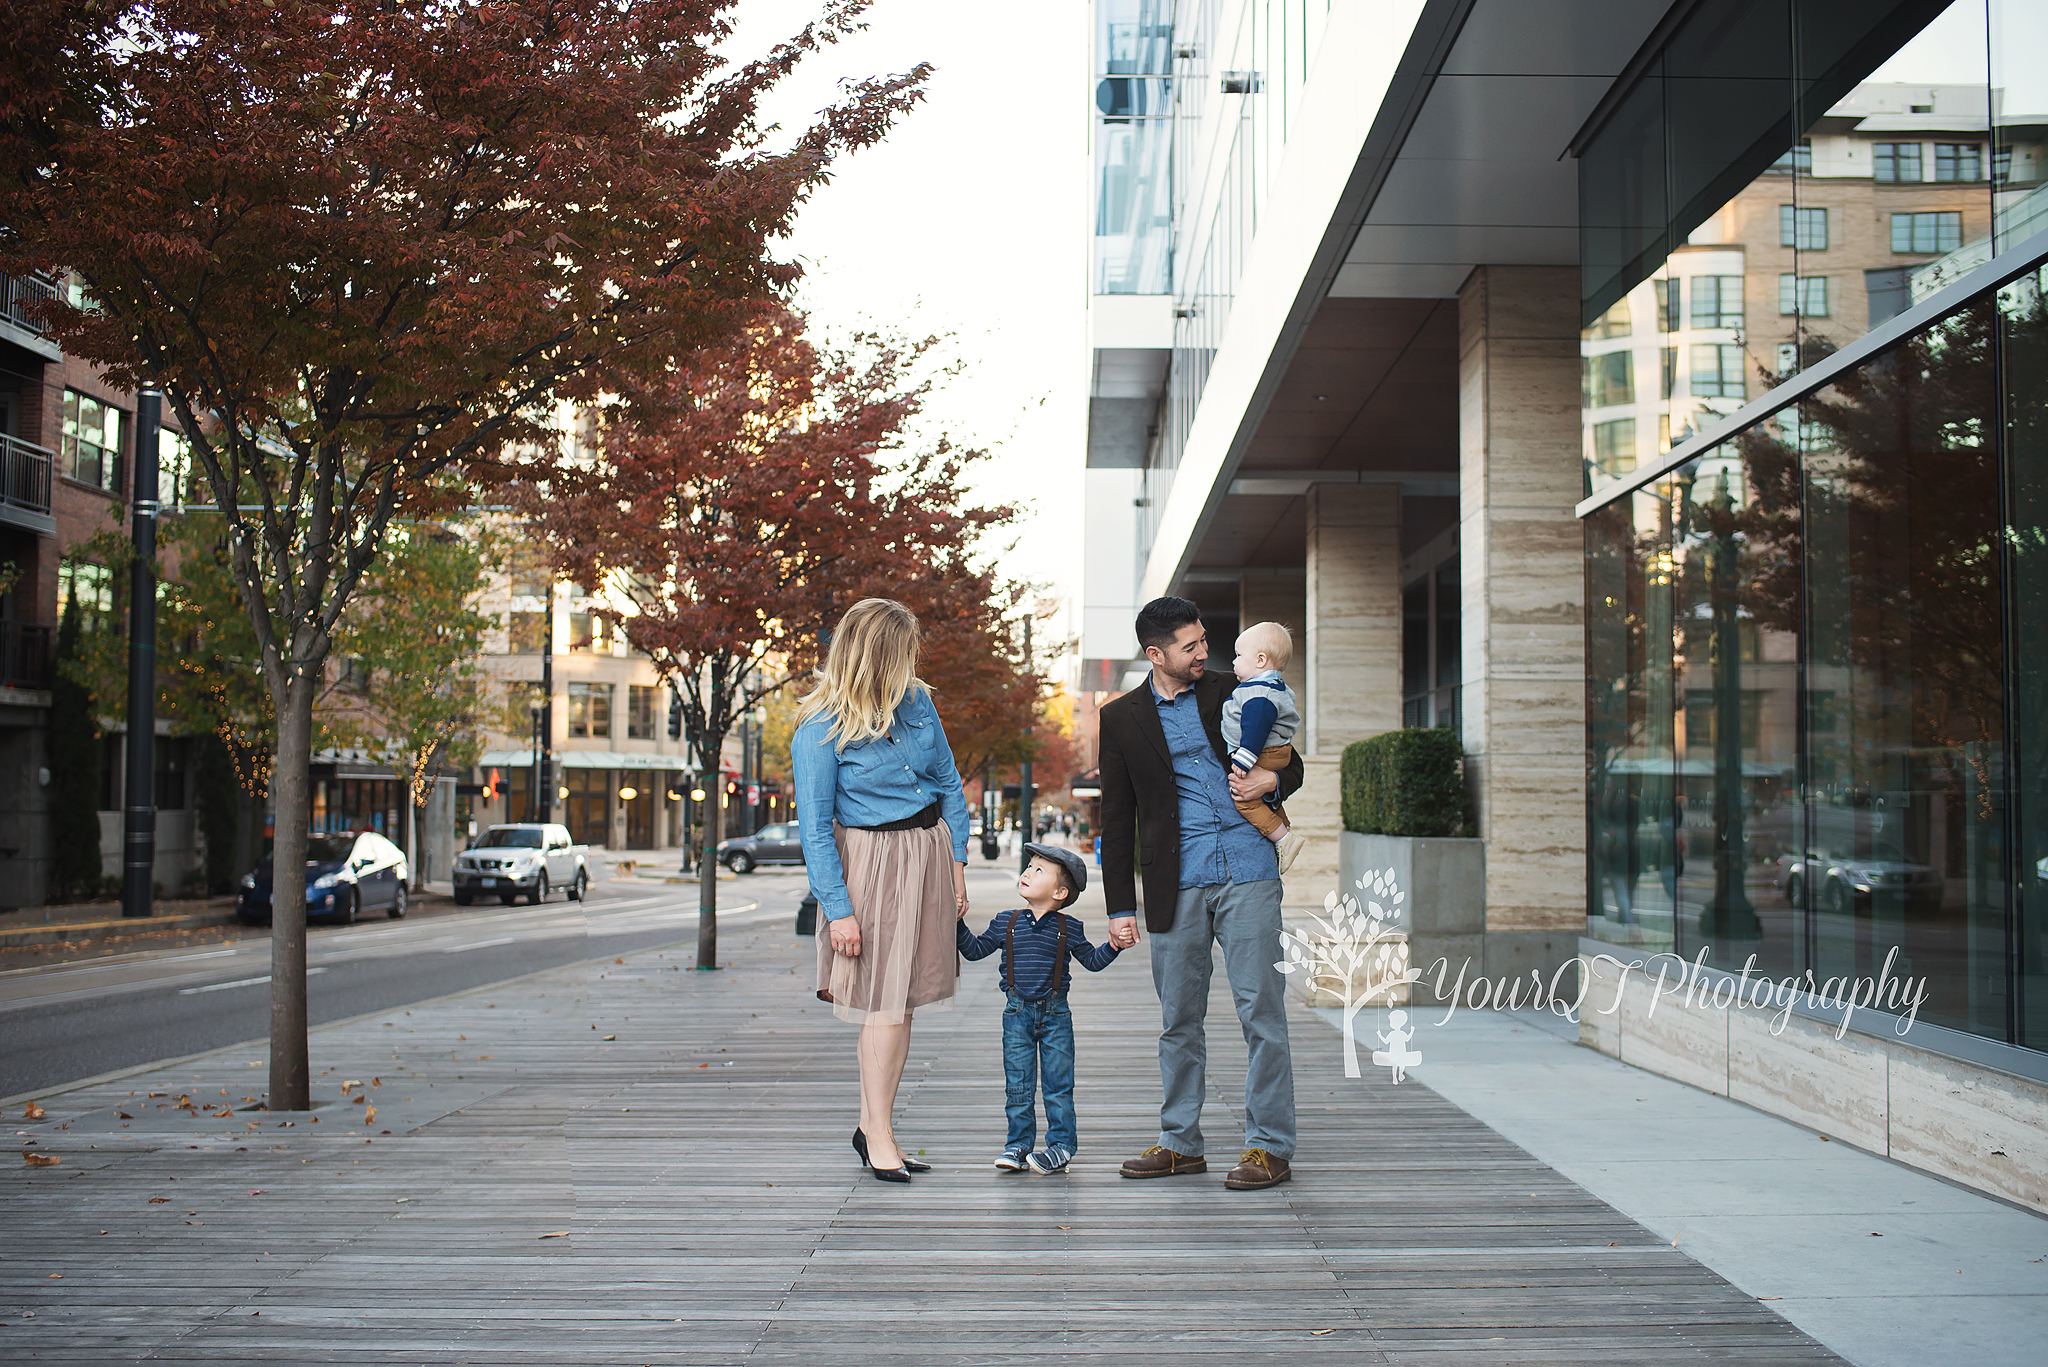
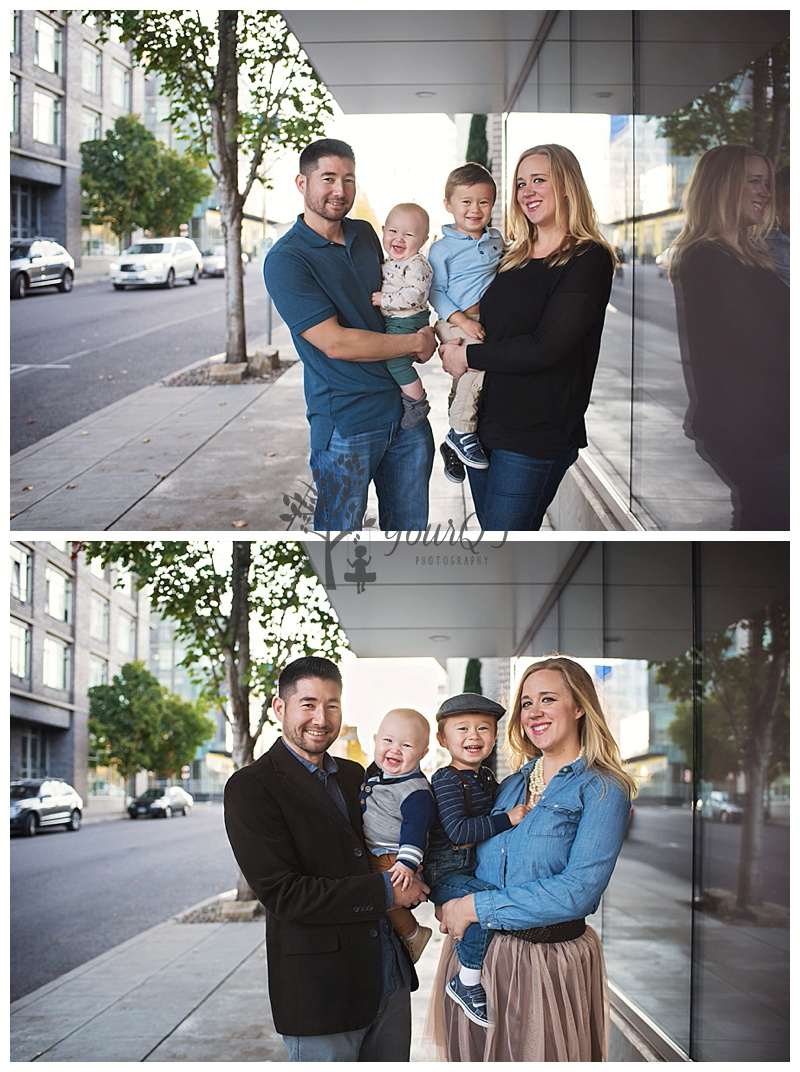
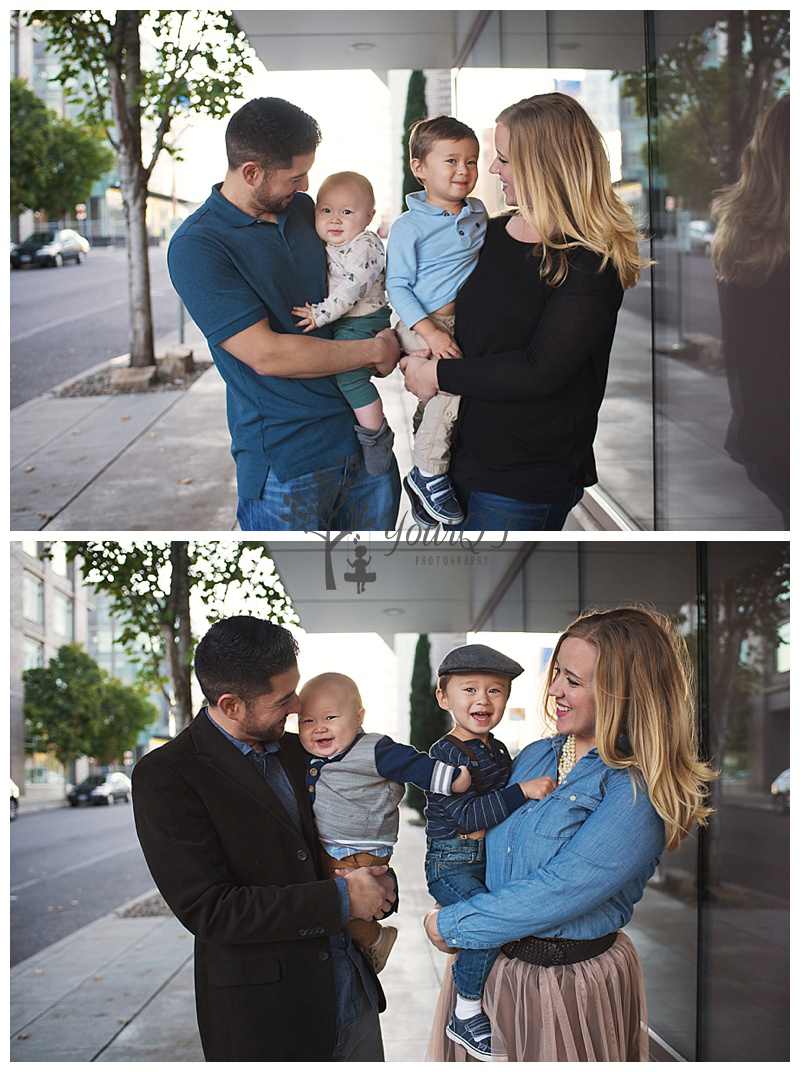
*Stylist Heather says: “With most clients, I generally start with the mom. Let’s face it, moms usually overlook themselves, but ultimately, we want her to feel confident and beautiful in front of the camera! I wanted to put her in something feminine and fun, but simple. This particulate combo (high waist skirt and chambray button up) is very flattering on most women!”*
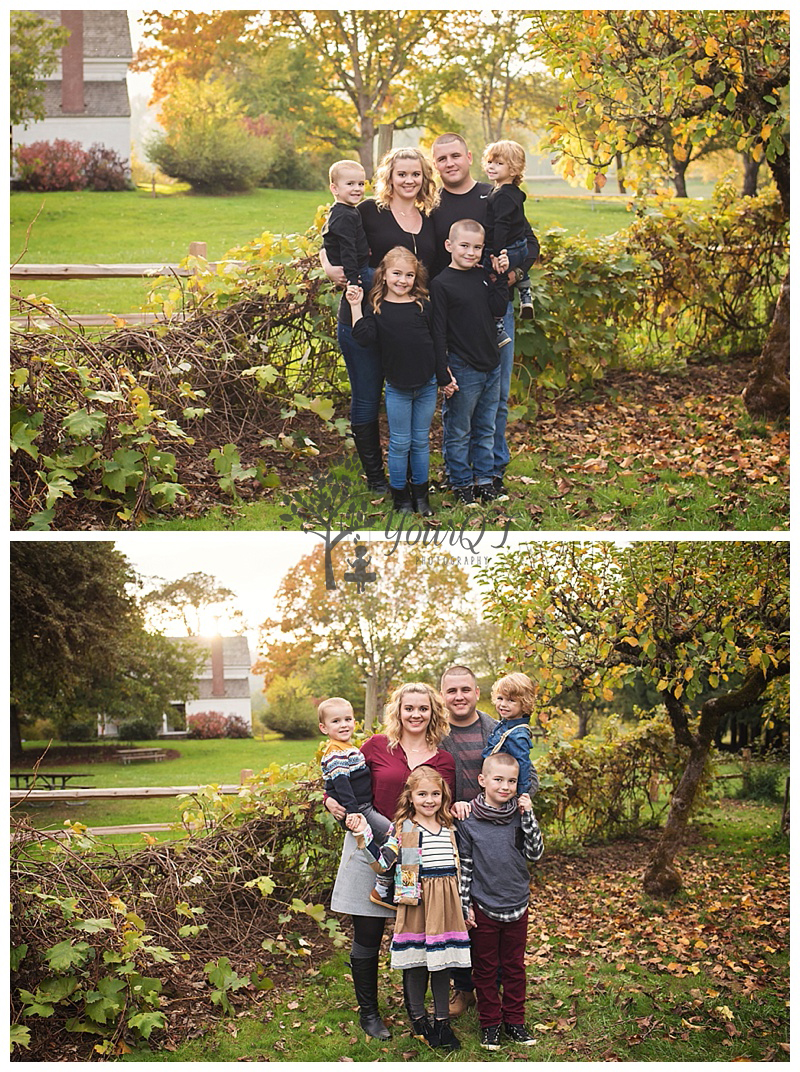
4. Think coordinating- not matching. I’m pretty sure that the era of everyone wearing black shirts and jeans or white shirts and khakis for their sessions came from people like me- who left the outfits until the end, and then after pulling a bunch of hair out in frustration said- forget this! We are all going in black shirts and jeans- YES, I do have pictures 🙂 Although you will still get beautiful images, it does not create a stand out image. There is no depth, and you also get what I call the UNI-BODY SYNDROME. Where everyone is kind of one collective blob with a bunch of heads coming out. You want your images to have depth, to show the personalities of each individual. As you look at these images, you can tell a lot about the different personalities of each child. You can even have your child in a shirt that says “Wild Child” with a great vest or blazer if that is them. Don’t be afraid of this- its really a lot of fun, and a lot easier than you would imagine with the right amount of time and the tools you are learning here! Below I will show you three different examples of what I am referring to here:
Here is where you see the Uni-Body Syndrome, everyone kind of blends in together, with a bunch of heads coming out. They still look nice, and it’s still a good family picture, however, as you can see from the same shot taken after they changed it takes it to the next level. You have different bodies, you see them all as individuals. It adds depth to the image- it no longer looks flat. Your eye naturally wanders through to see each individual within the group picture. This is what you want you are trying to achieve. So next time- just say NO to black shirts and jeans 😉
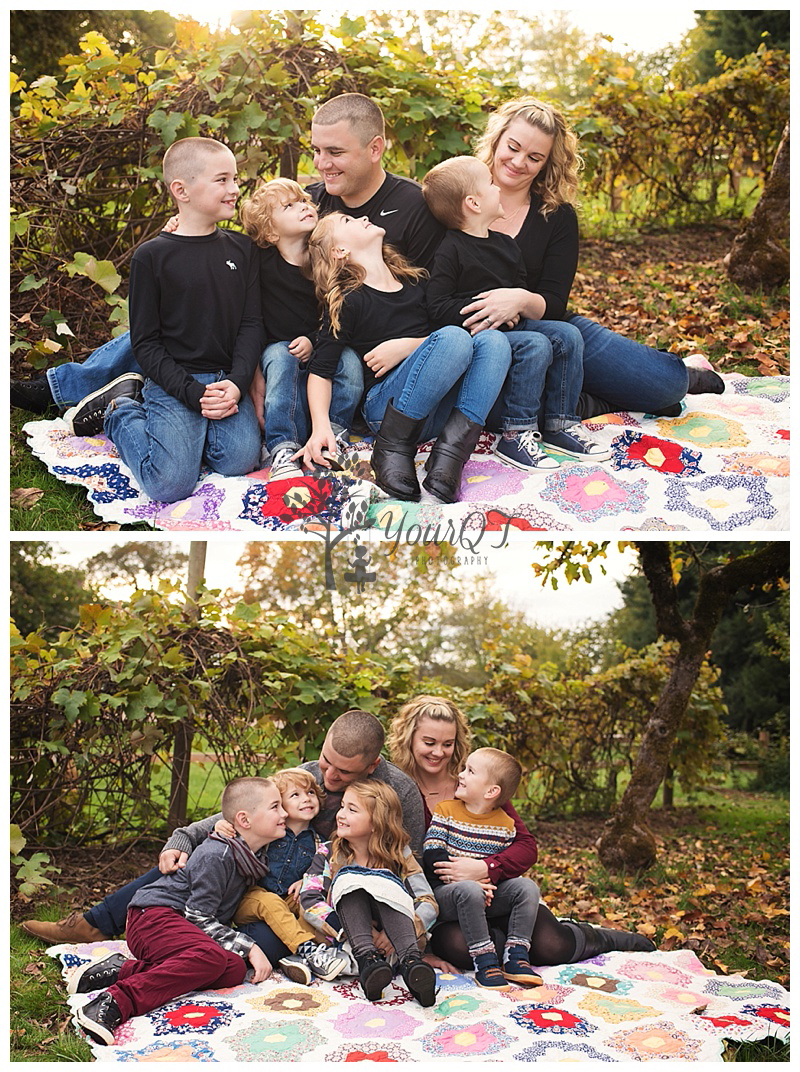
Next, I had this family come in mostly solids and no layers. As you can see- it creates a very flat image with no depth.
And finally, I had this family come wearing all stripes. This could have also been done with all plaid, all leopard print etc. This demonstrates what happens when everyone wears the SAME pattern. Your eyes are confused on where to land, it makes you somewhat uncomfortable to look through the image. Again, the individuals are lost here- it doesn’t say anything about their personalities, and your eye never really rests on each individual. Also, it creates a flat image once again. Are you noticing that layers help create depth?
5. Consider the season and location you will have your session- is it green and grassy? Tall wheat fields, the city, or a forest? Different locations provide opportunity for different outfit choices- a fur coat and boots does not make sense when your session is taking place in the spring with blooming cherry blossoms. You should dress so that it makes sense with the season and location around you.

6. Think about the feel you want to portray for your session- are you an outdoorsy family, whimsical, outgoing, or modern? Depending on your answer that should direct not only the location for your session, but what to wear.
7. If you are doing an in-home session- consider, what would look natural in our pictures? Formal dresses and tuxedos while we are baking in our kitchen? Probably not- more than likely, its your normal, everyday wear. Here you can go with a neutral/minimalistic color scheme if your home has a lot of color or you can choose to add a pop of color in your clothing if your home is more neutral and that pop of color says something about your family, and their personalities. Just don’t forget- even though you are dressing for an in home session- you still want to coordinate. This family had pops of color throughout their home, so we went with a neutral color scheme to make the family stand out.
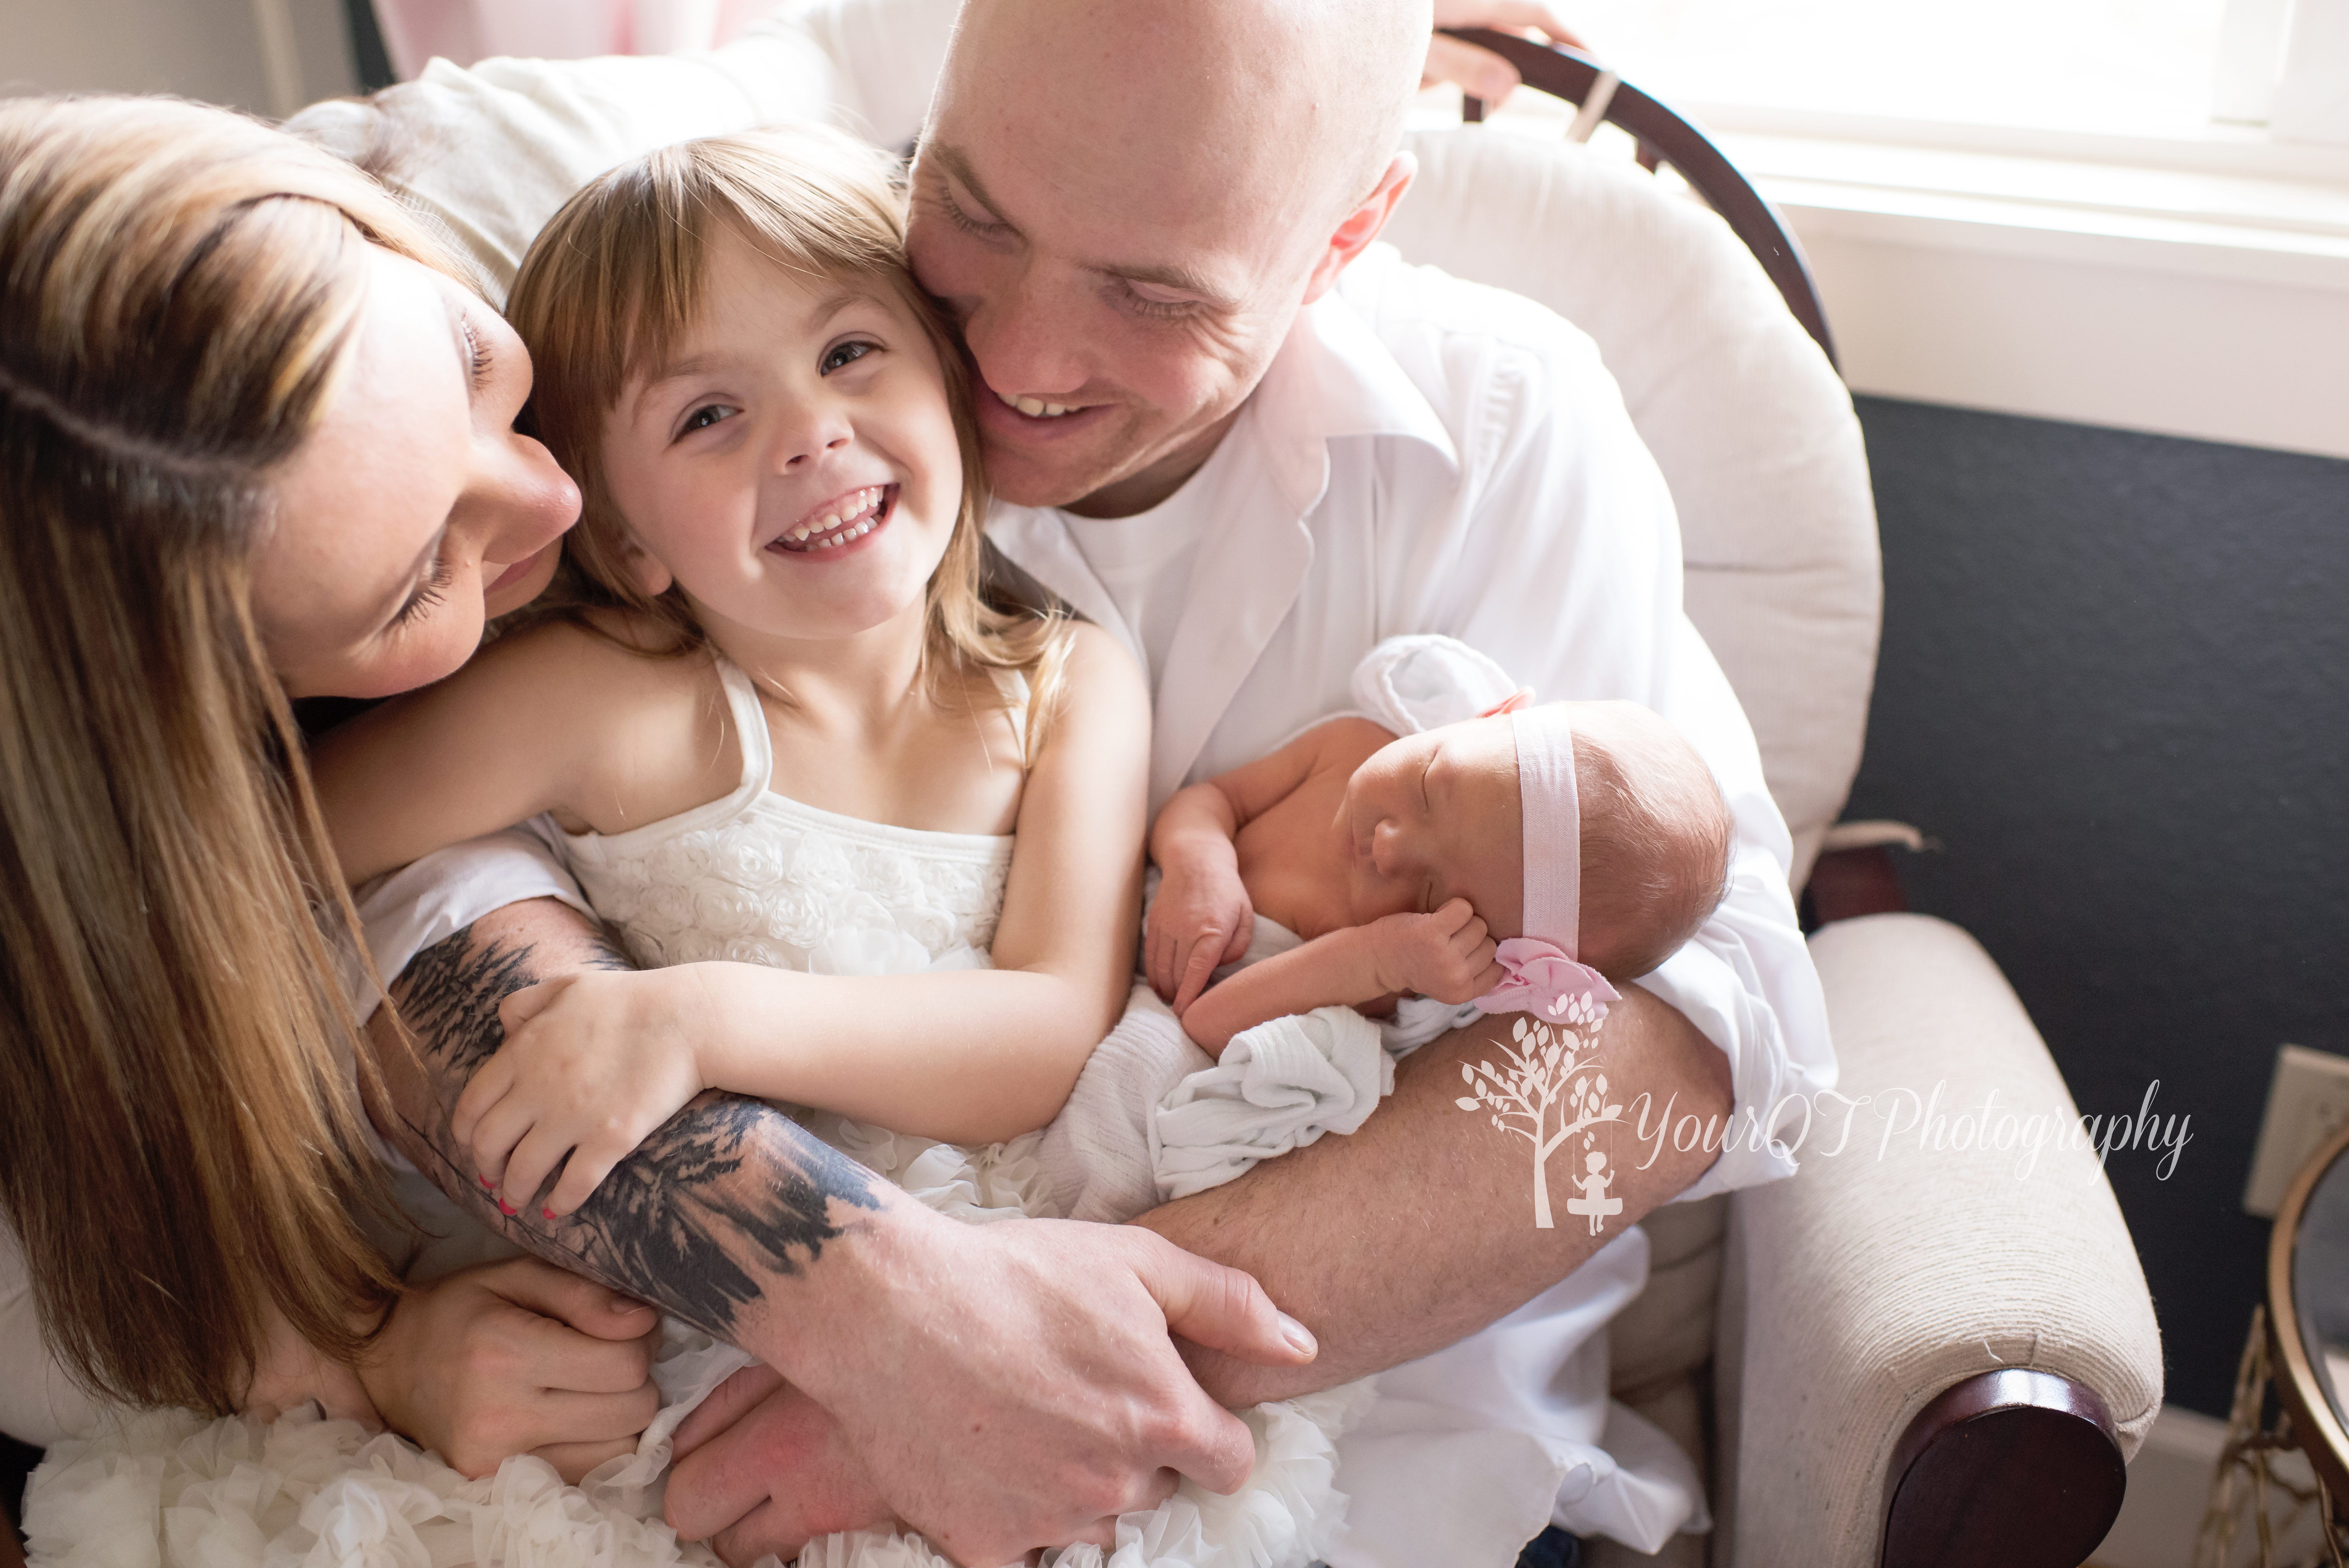
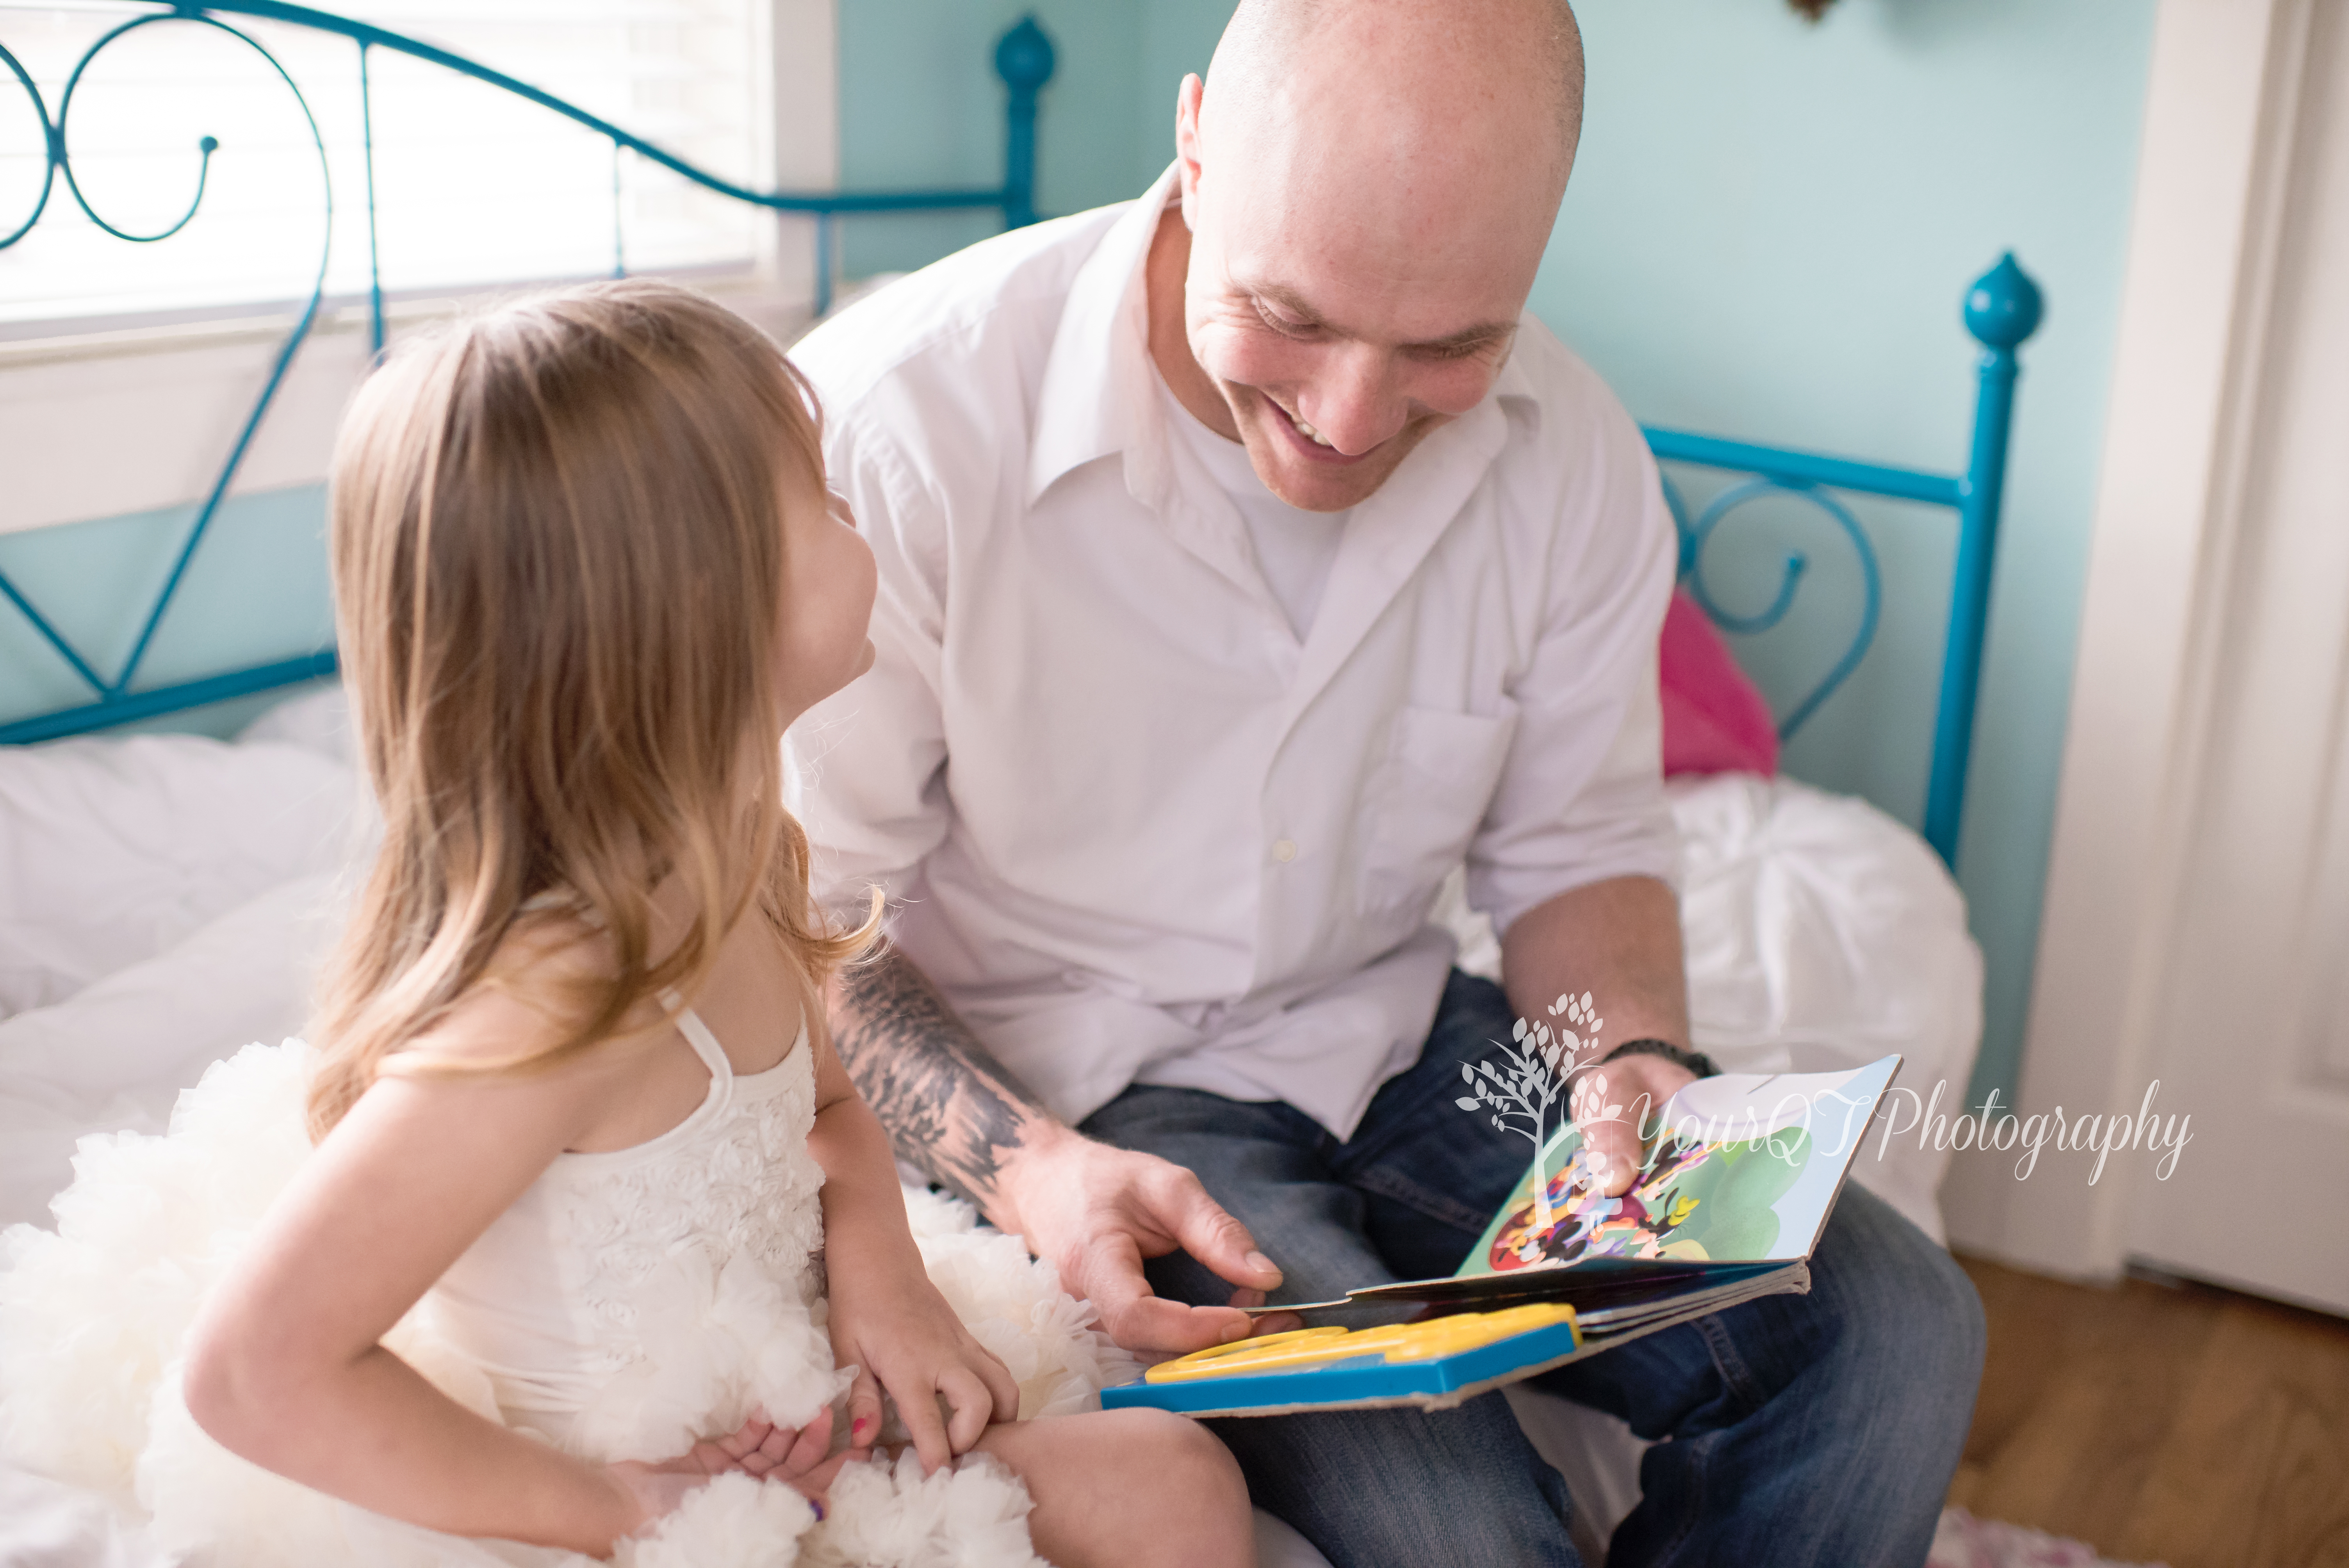
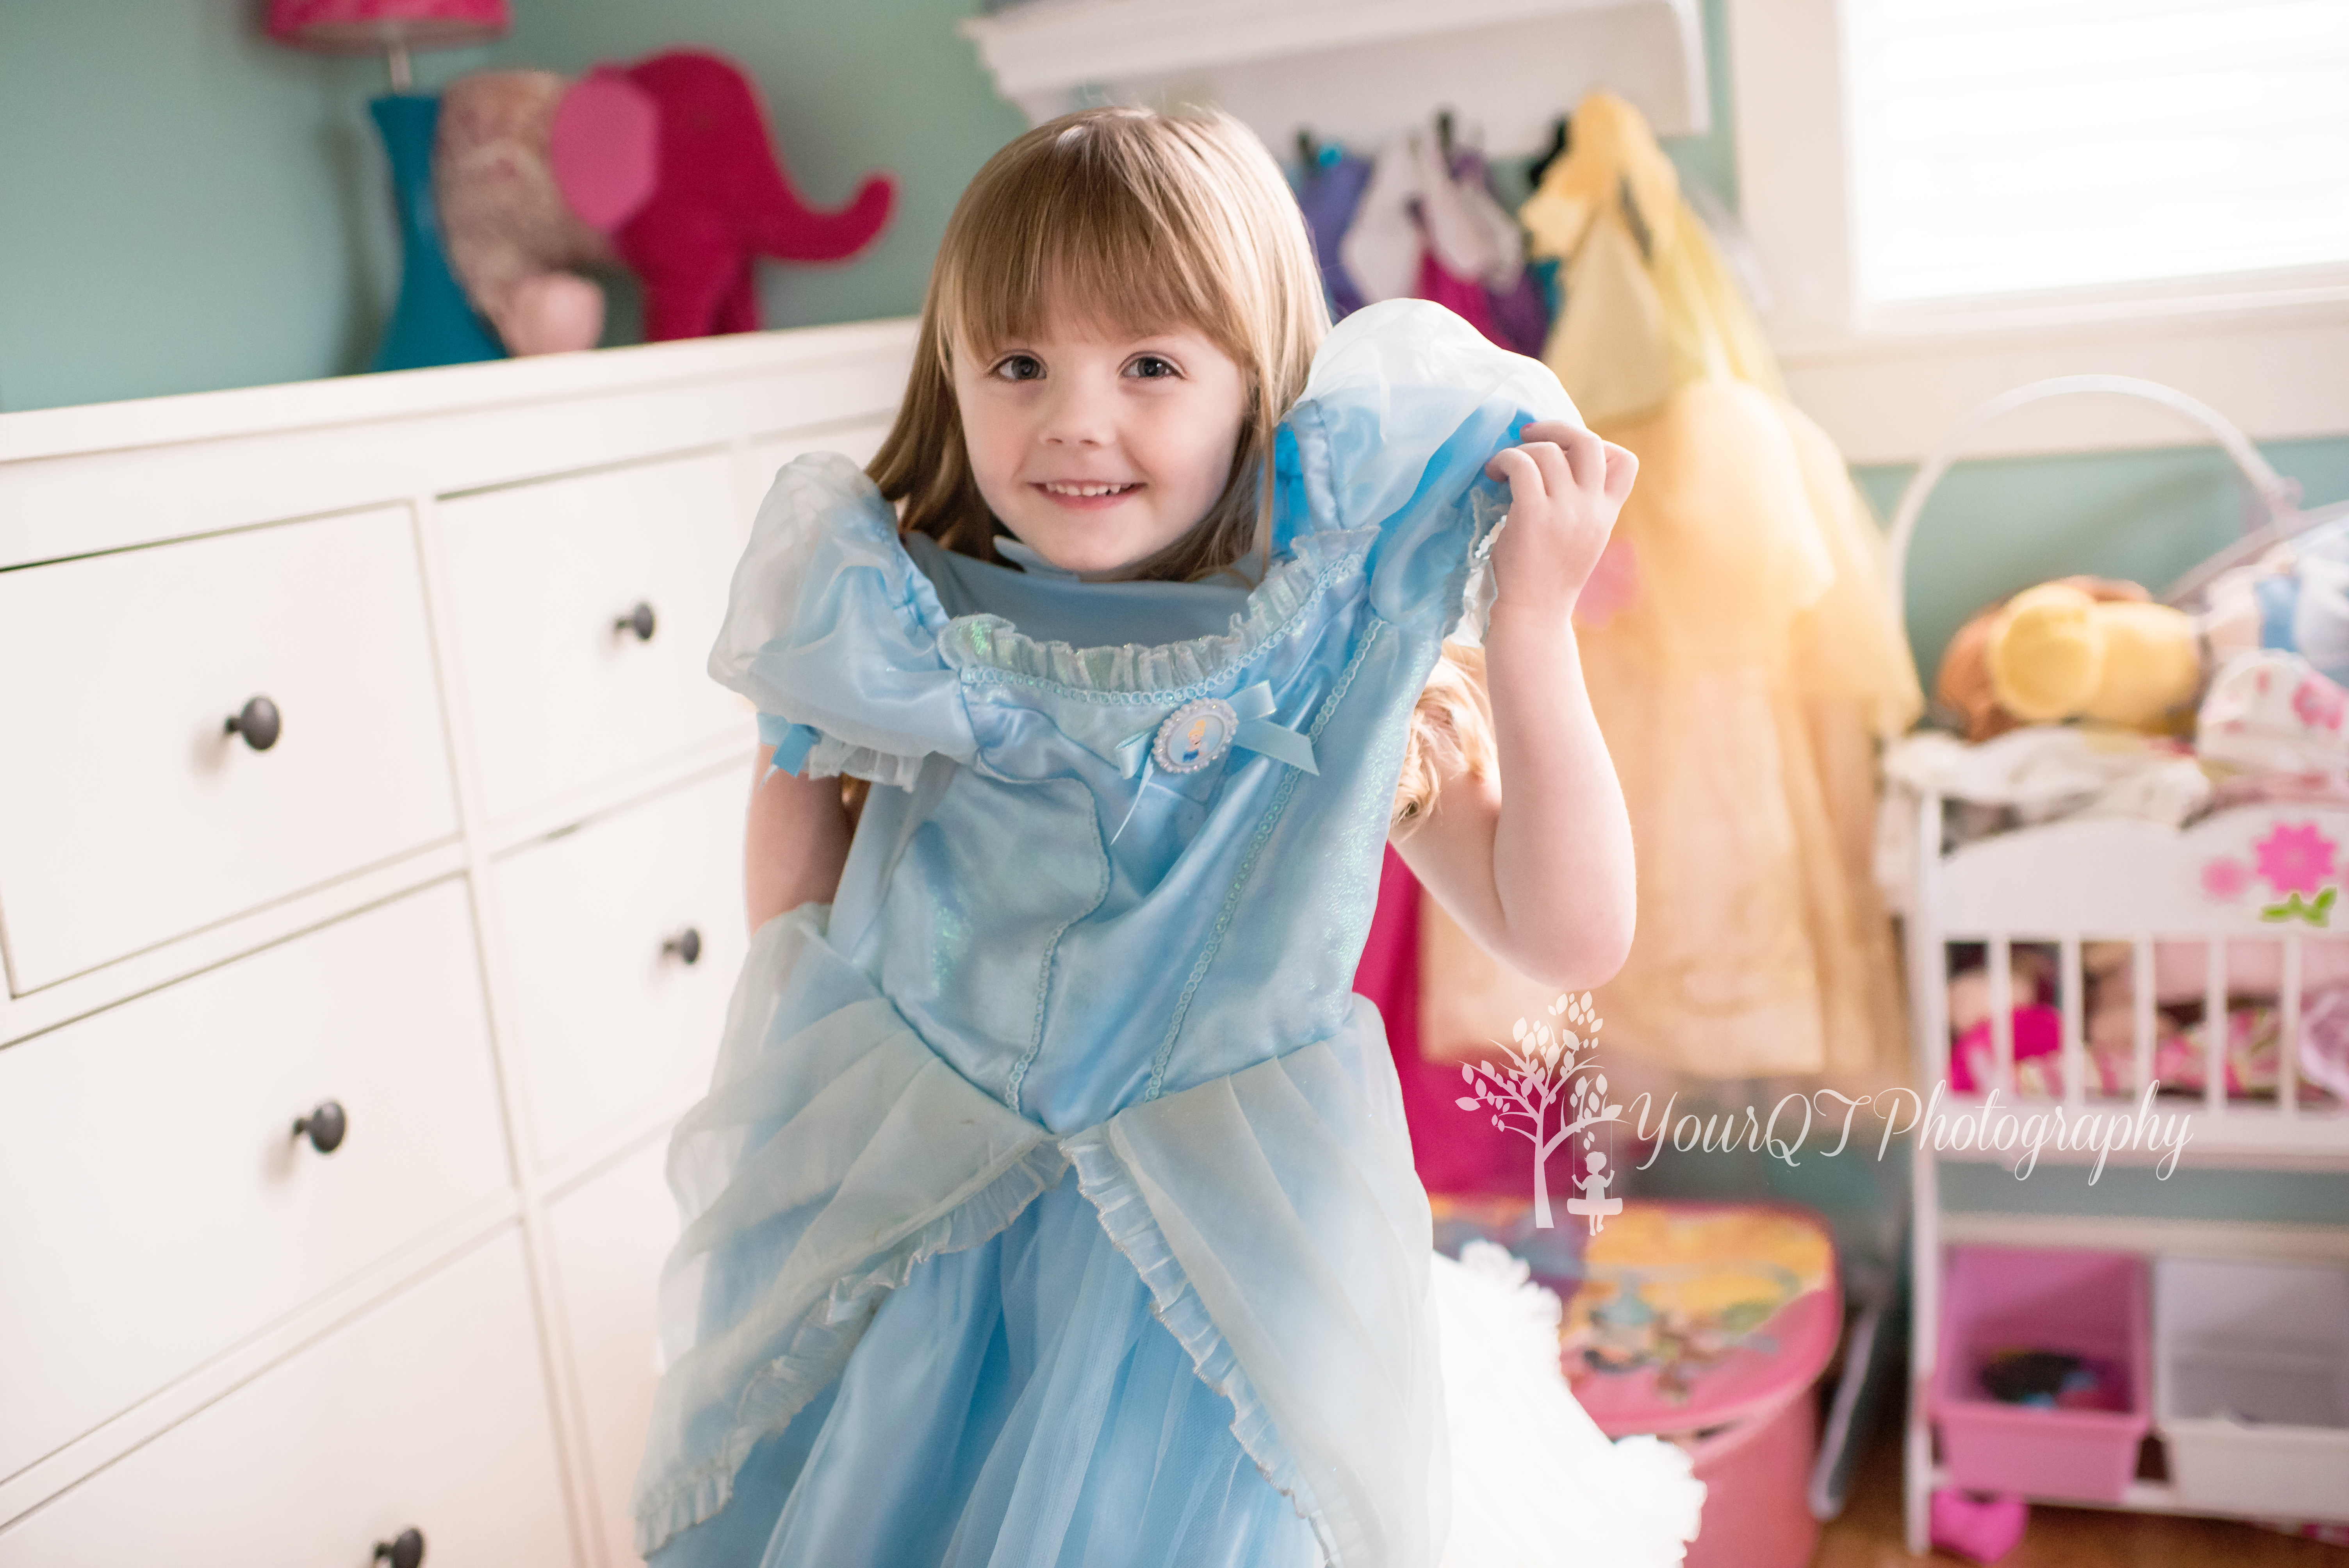
8. Consider colors! Consider the location you are going to have your session- what colors are already present? What would look good with that? What feel do you want your session to have? Let’s take a look at the color wheel to learn a little bit more here, within the color wheel you have many different options for colors that all give a different feel.
Complementary colors are any two colors that are directly opposite each other on the color wheel, as shown above using the example of blue and orange. Complementary colors provide a vibrant contrast.
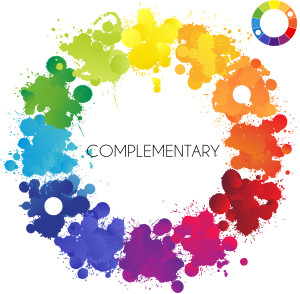

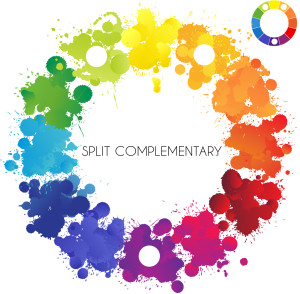
Split Complementary colors use the colors on either side of the complementary color on the wheel as shown here. Use this to create a visual contrast that is a little bit easier on the eyes than its counterpart of Complementary:

Monochromatic colors are all the same color with varying shades or tints creating a lack of contrast.

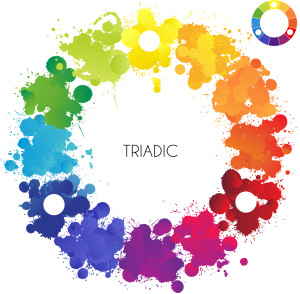
Triadic colors are those that are evenly spaced along the color wheel. This creates a toned down feel of the vibrant and contrasty look that the complementary colors give.

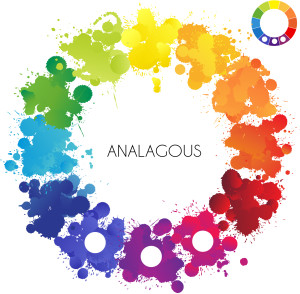
Analogous colors, often found in nature, are any three colors next to each other on the color wheel. They leave us feeling harmonious and peaceful.

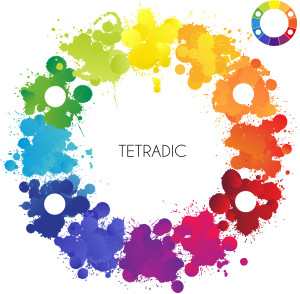
Finally you have Tetradic, this is used for a bold feel with multiple options for colors. Use two sets of complementary colors that form a rectangle on the color wheel.

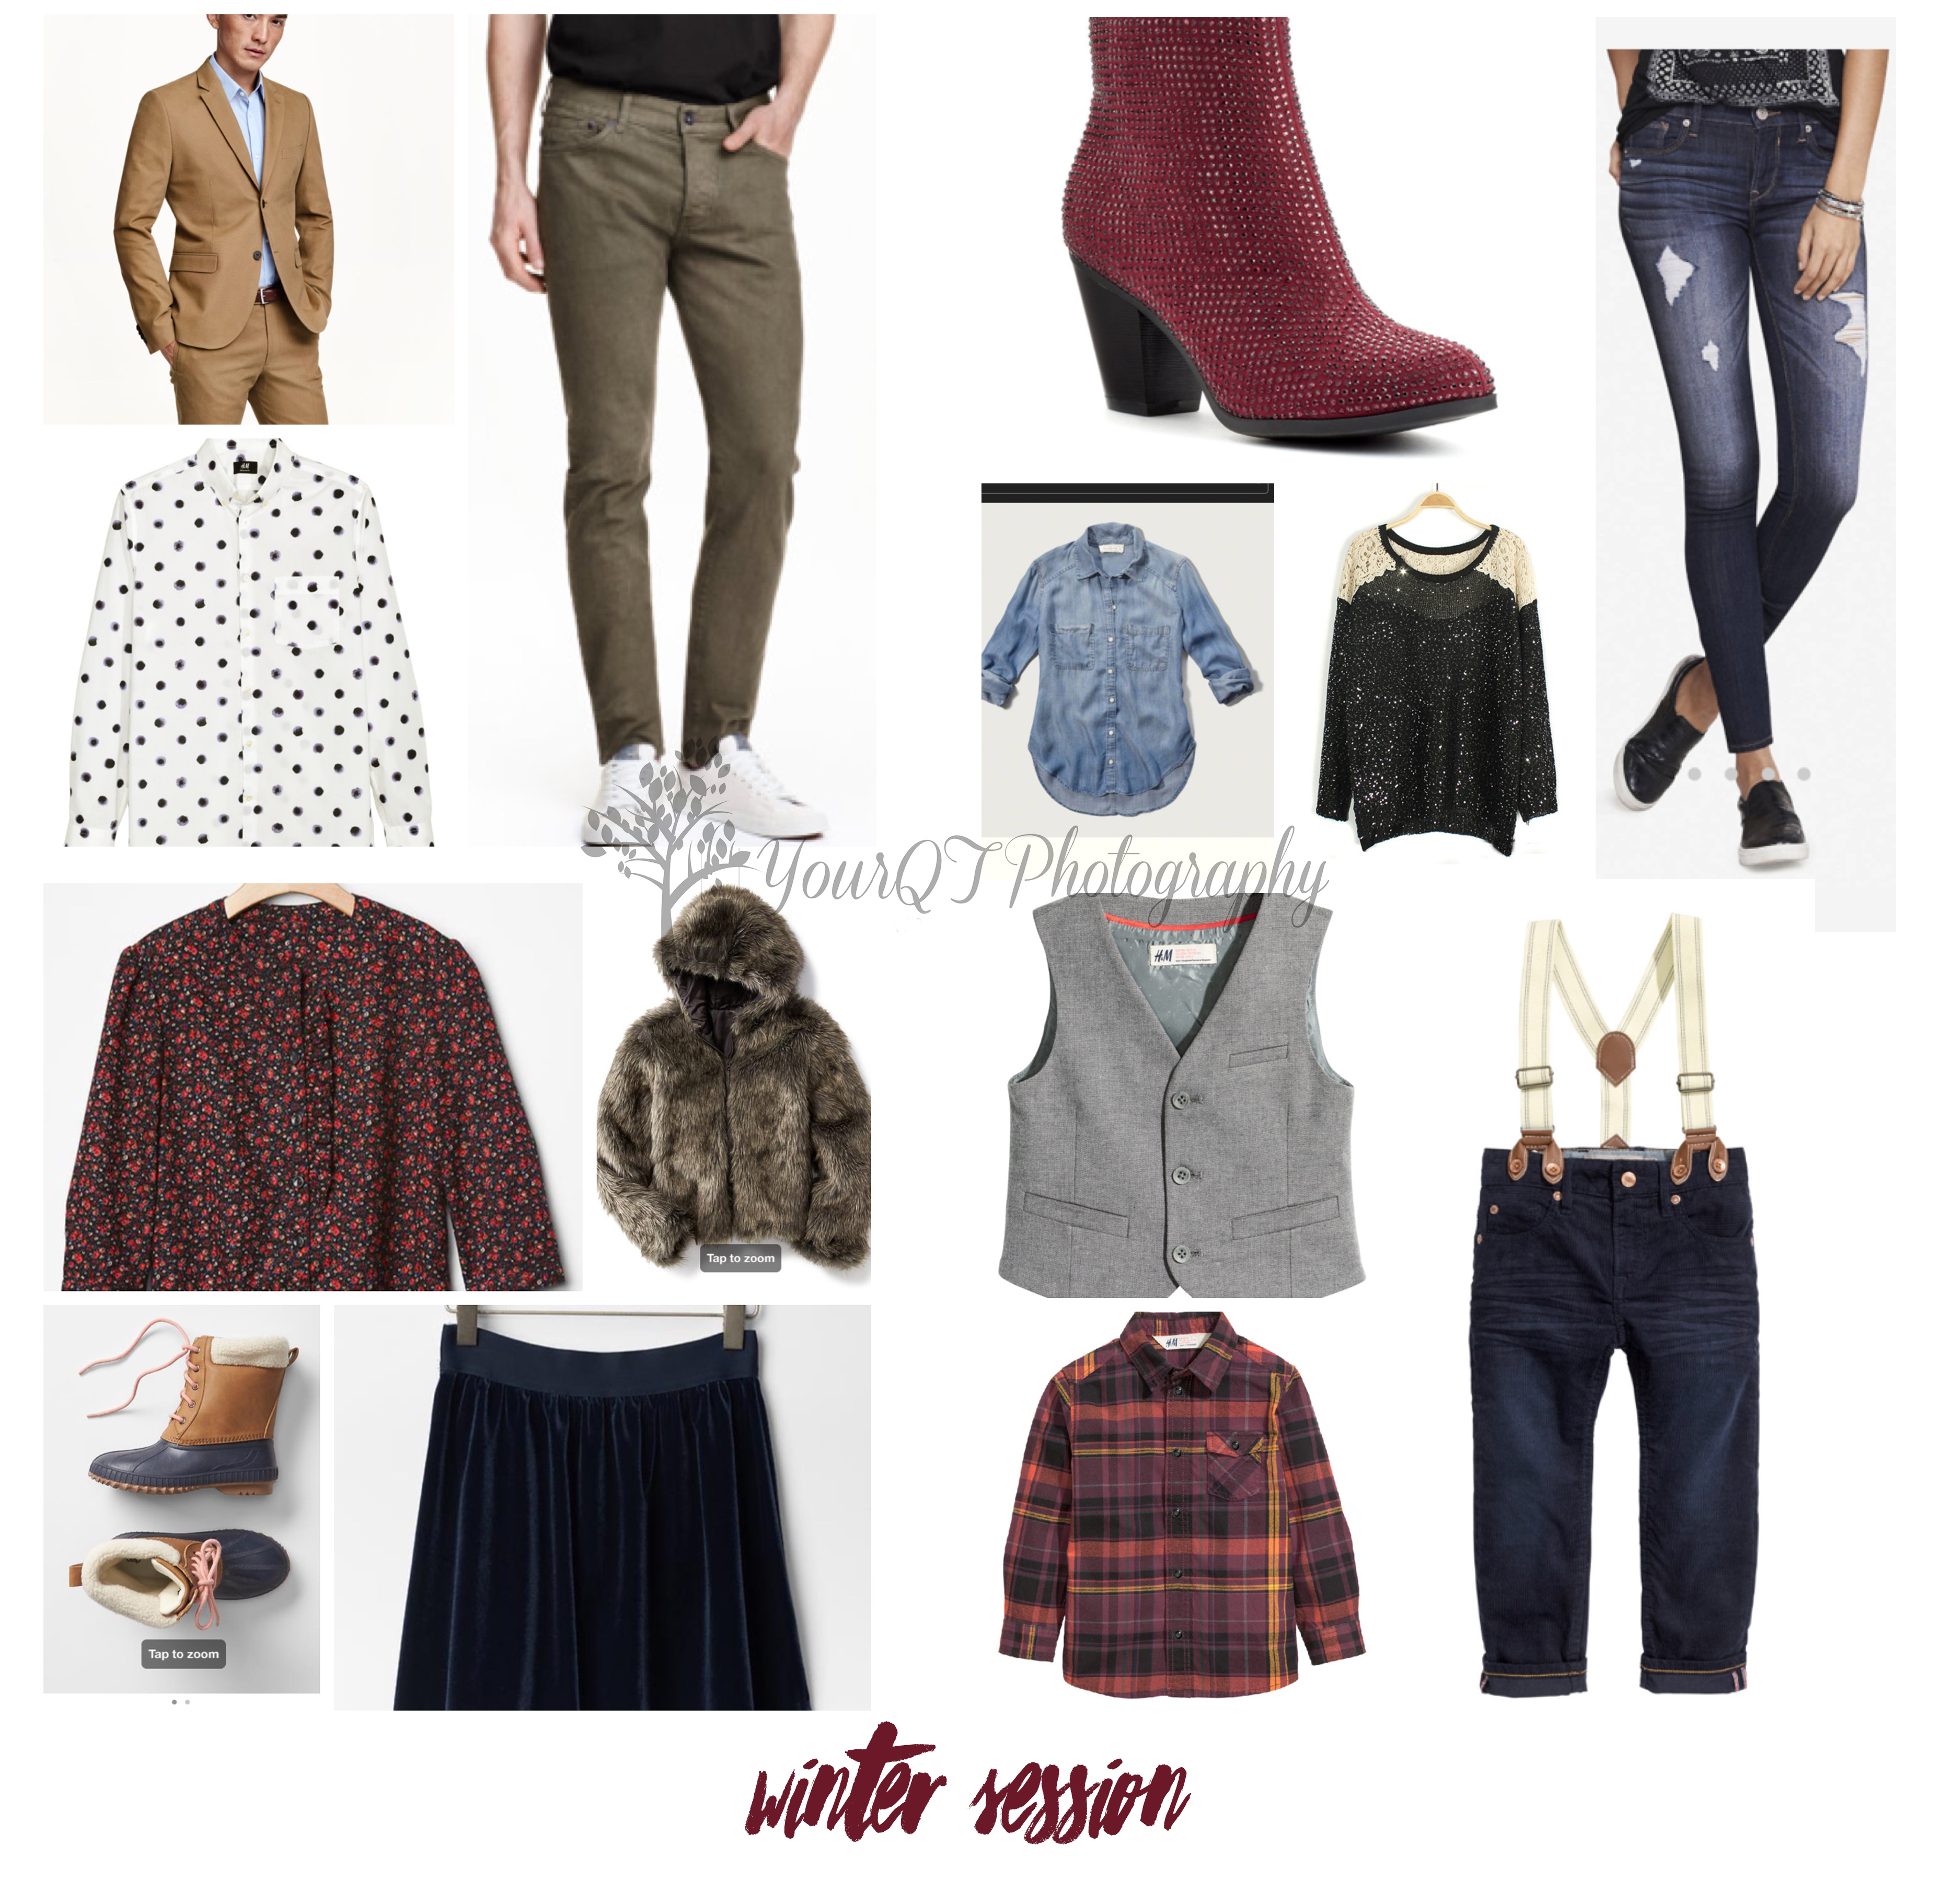
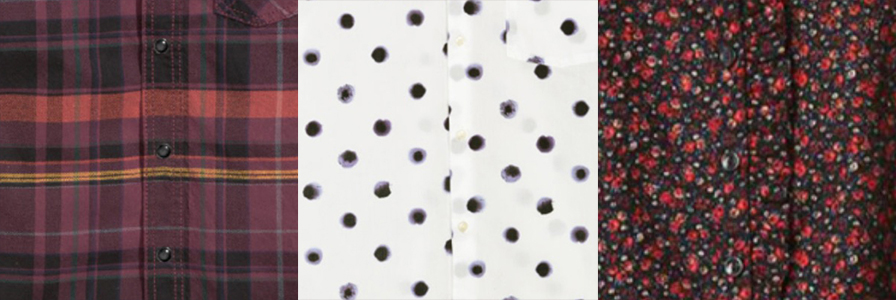
9. Combine colors, patterns and textures. If you want to break this down into a ‘formula’ you could look at it like this: Take three colors and a neutral that go well together, then, within those colors, add three to four patters, and three to four textures. Look at the formula- do you have a good blend of textures and patterns? Do they all stay within your color strip? Make sure you don’t have varying shades such as a jewel tone purple with a pastel yellow. Make sure they all have the same tones as well. We will look at four different sessions here to illustrate this for you.
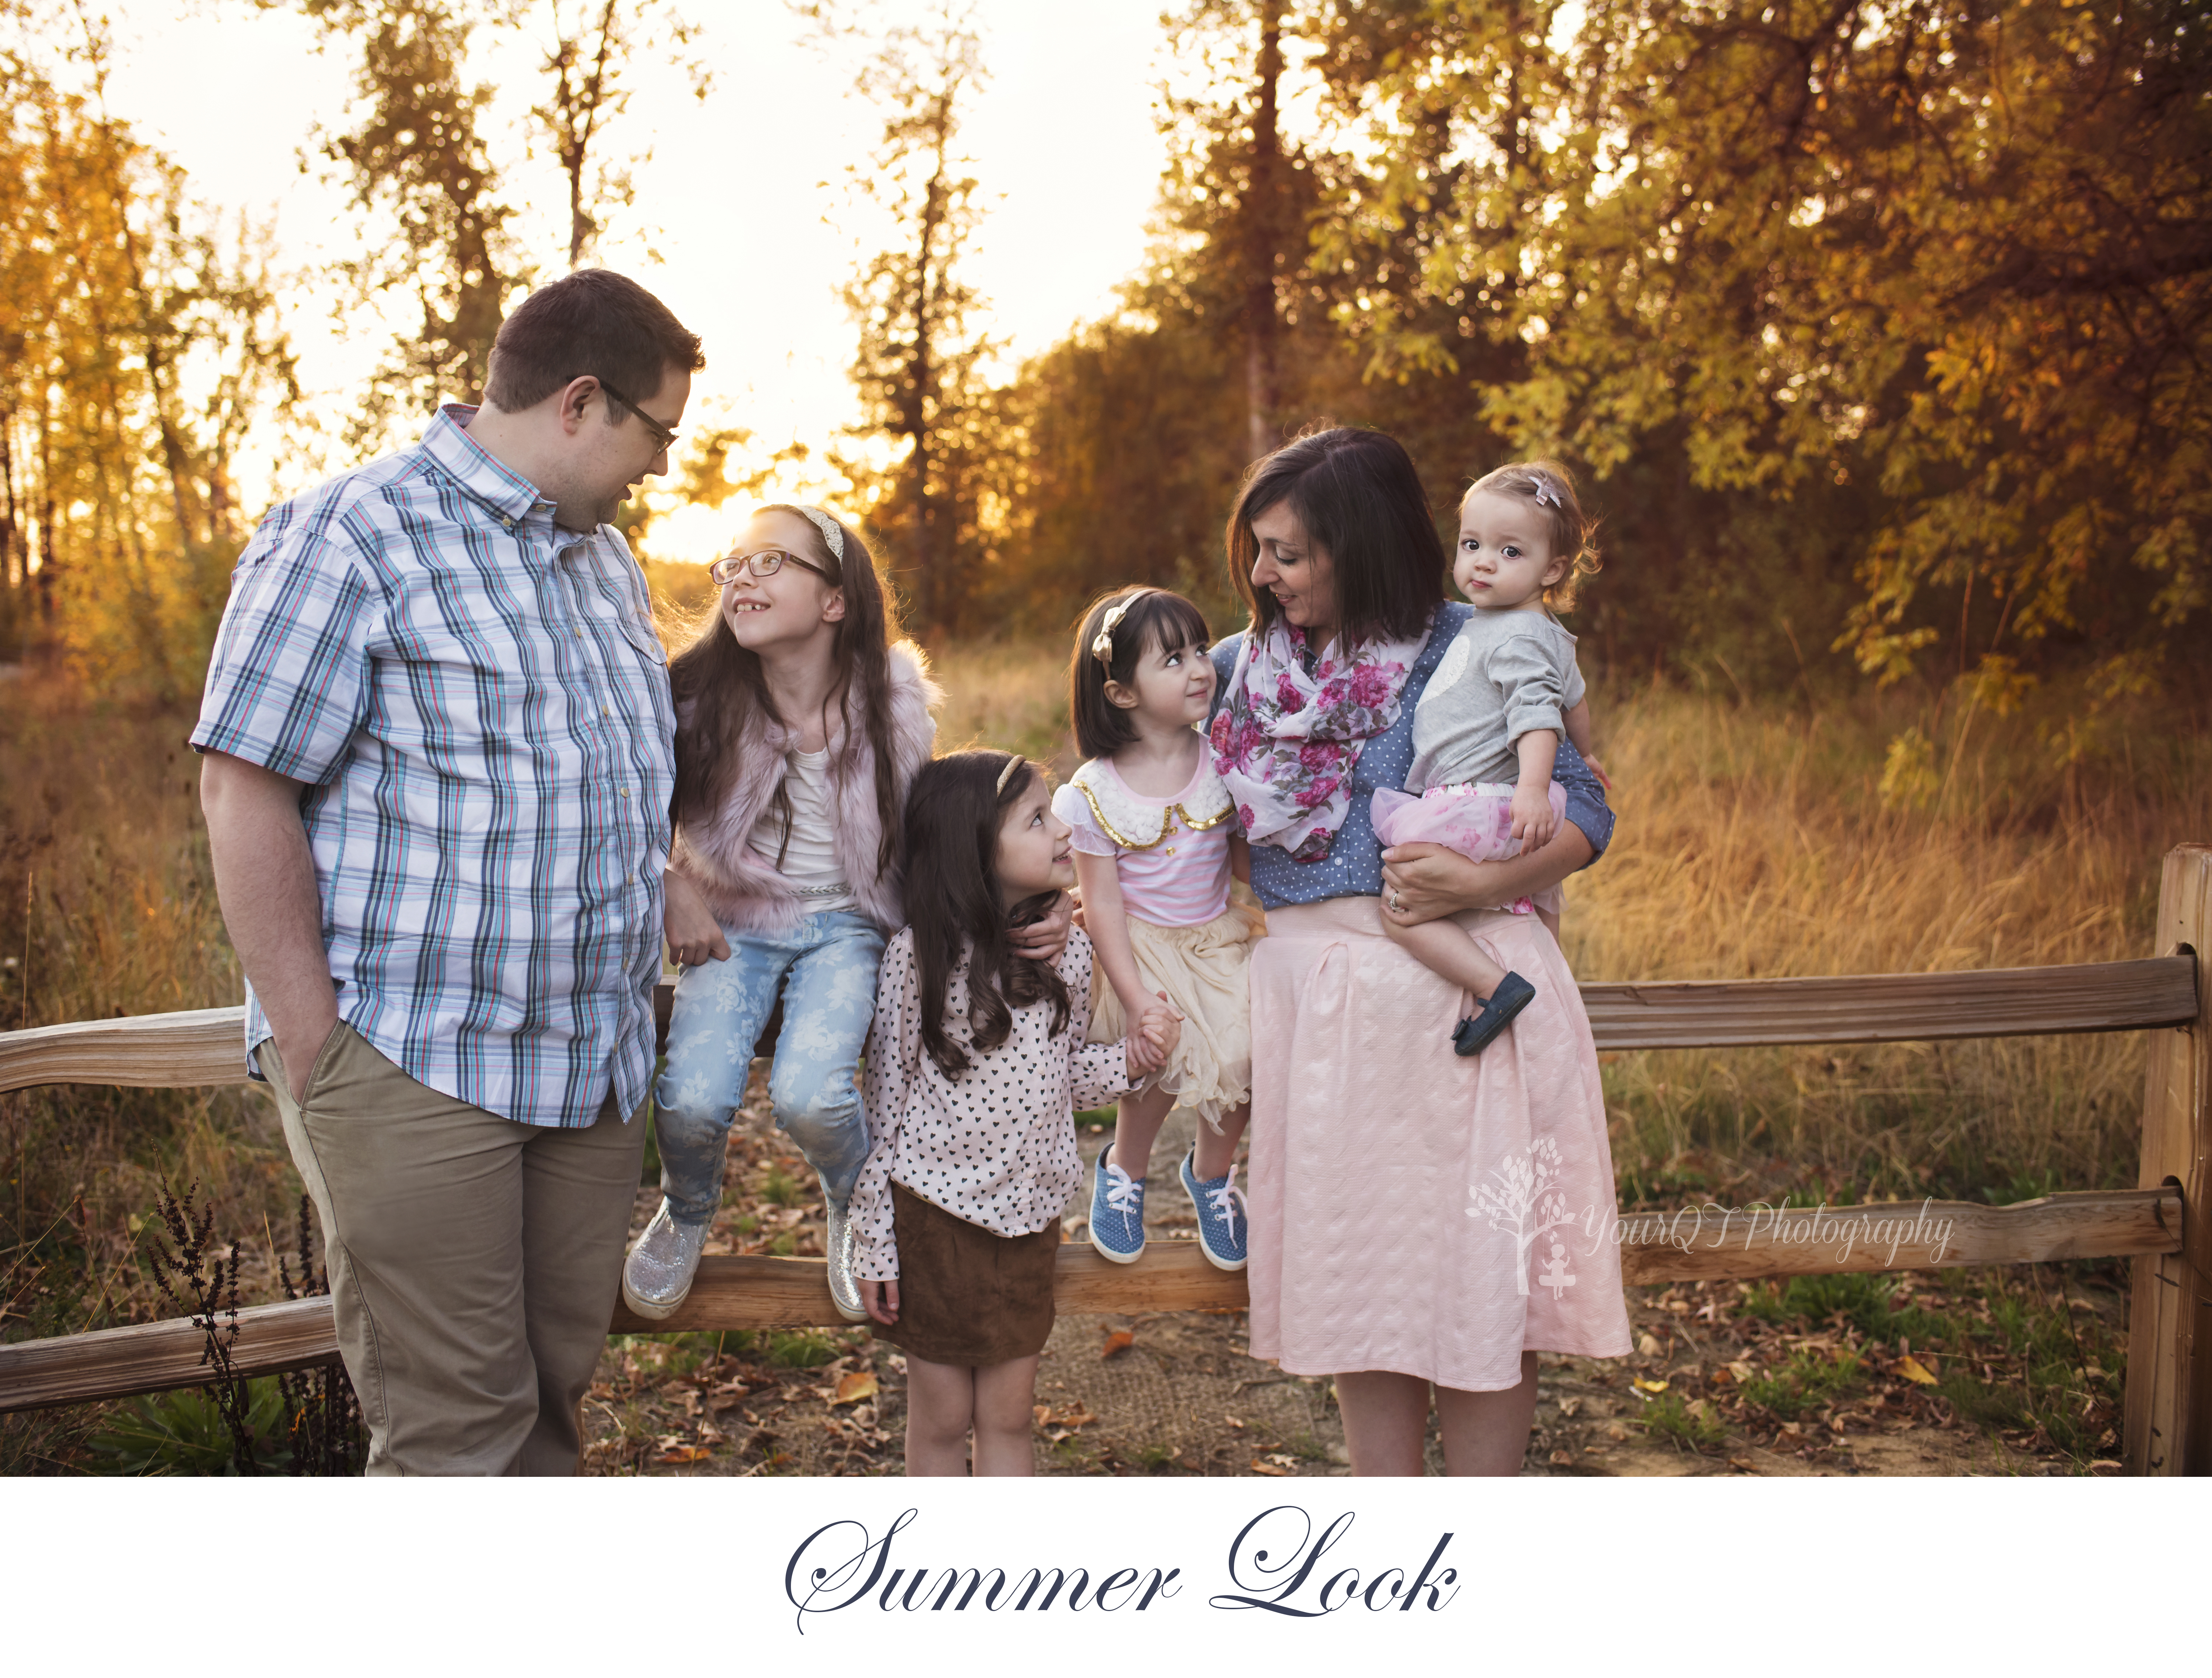
With this summer look you have these colors, patterns and textures:
Summer Colors

Summer Patterns

Summer Textures
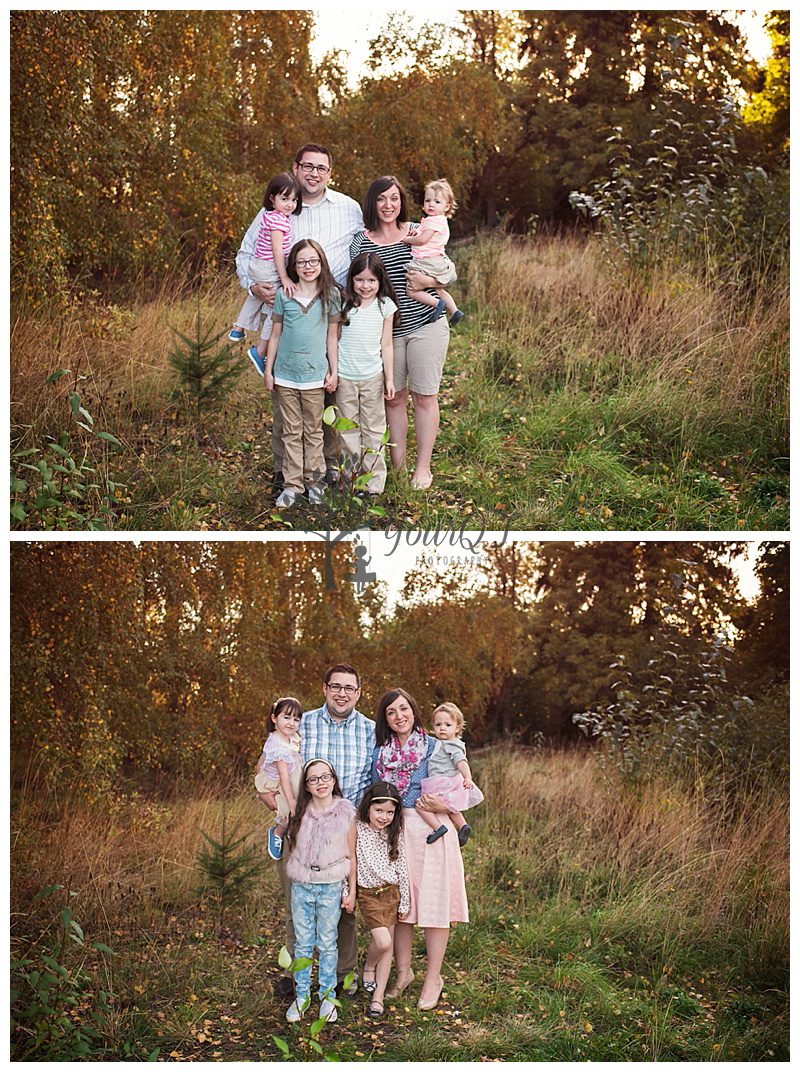
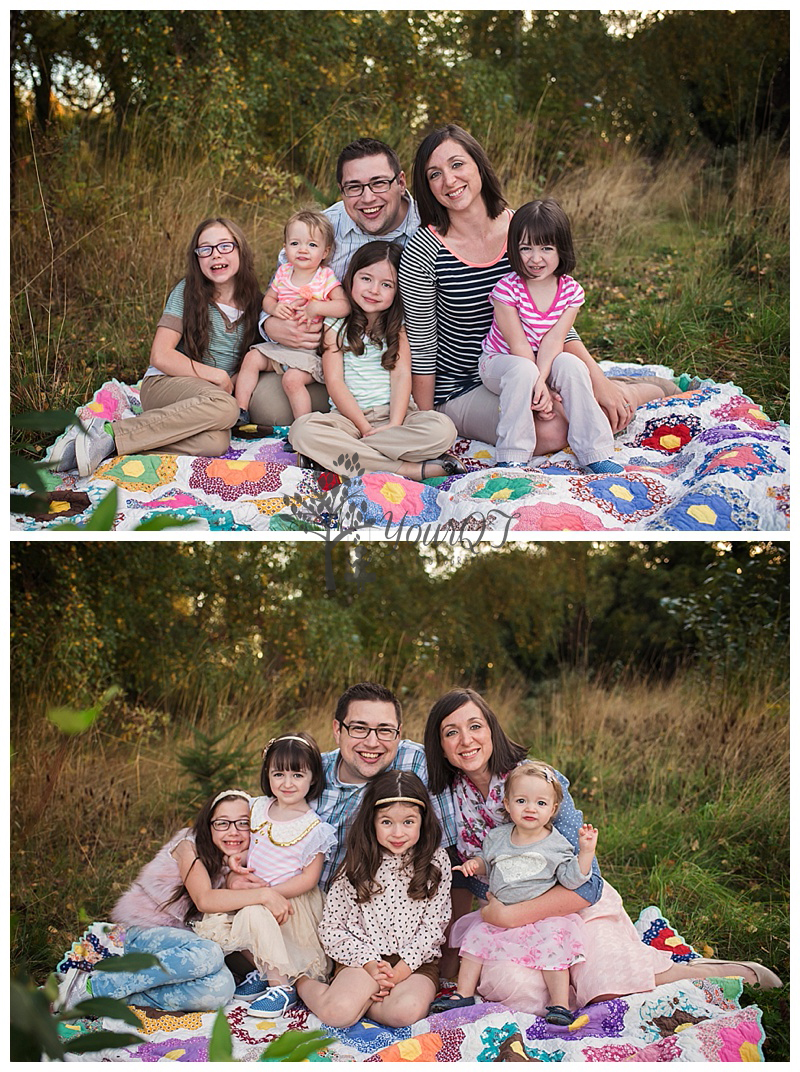
*Stylist Heather says: “We established a more summery look in the midst of autumn by playing on colors and floral prints. This wardrobe was pieced together around the striped dress with the peter pan collar. Every now and then I will stumble across a particular piece that I just HAVE to use for a client. This dress was one of those pieces. It’s so girly and dainty without looking like it can’t get dirty;) Styling a session with so many girls can get tricky. It’d be so easy to just put them all in the same or similar pieces. Resist that temptation! Not only does wardrobe play a big part in personalizing a great session, it is an opportunity to showcase each family member’s personality. We have several combos here: Dress, skirt and top, printed skinny jeans, a jumper. PLUS, you add in layers and accessories to give each girl individuality. And like I said before, we are coordinating colors, but mixing in different prints and textures.”
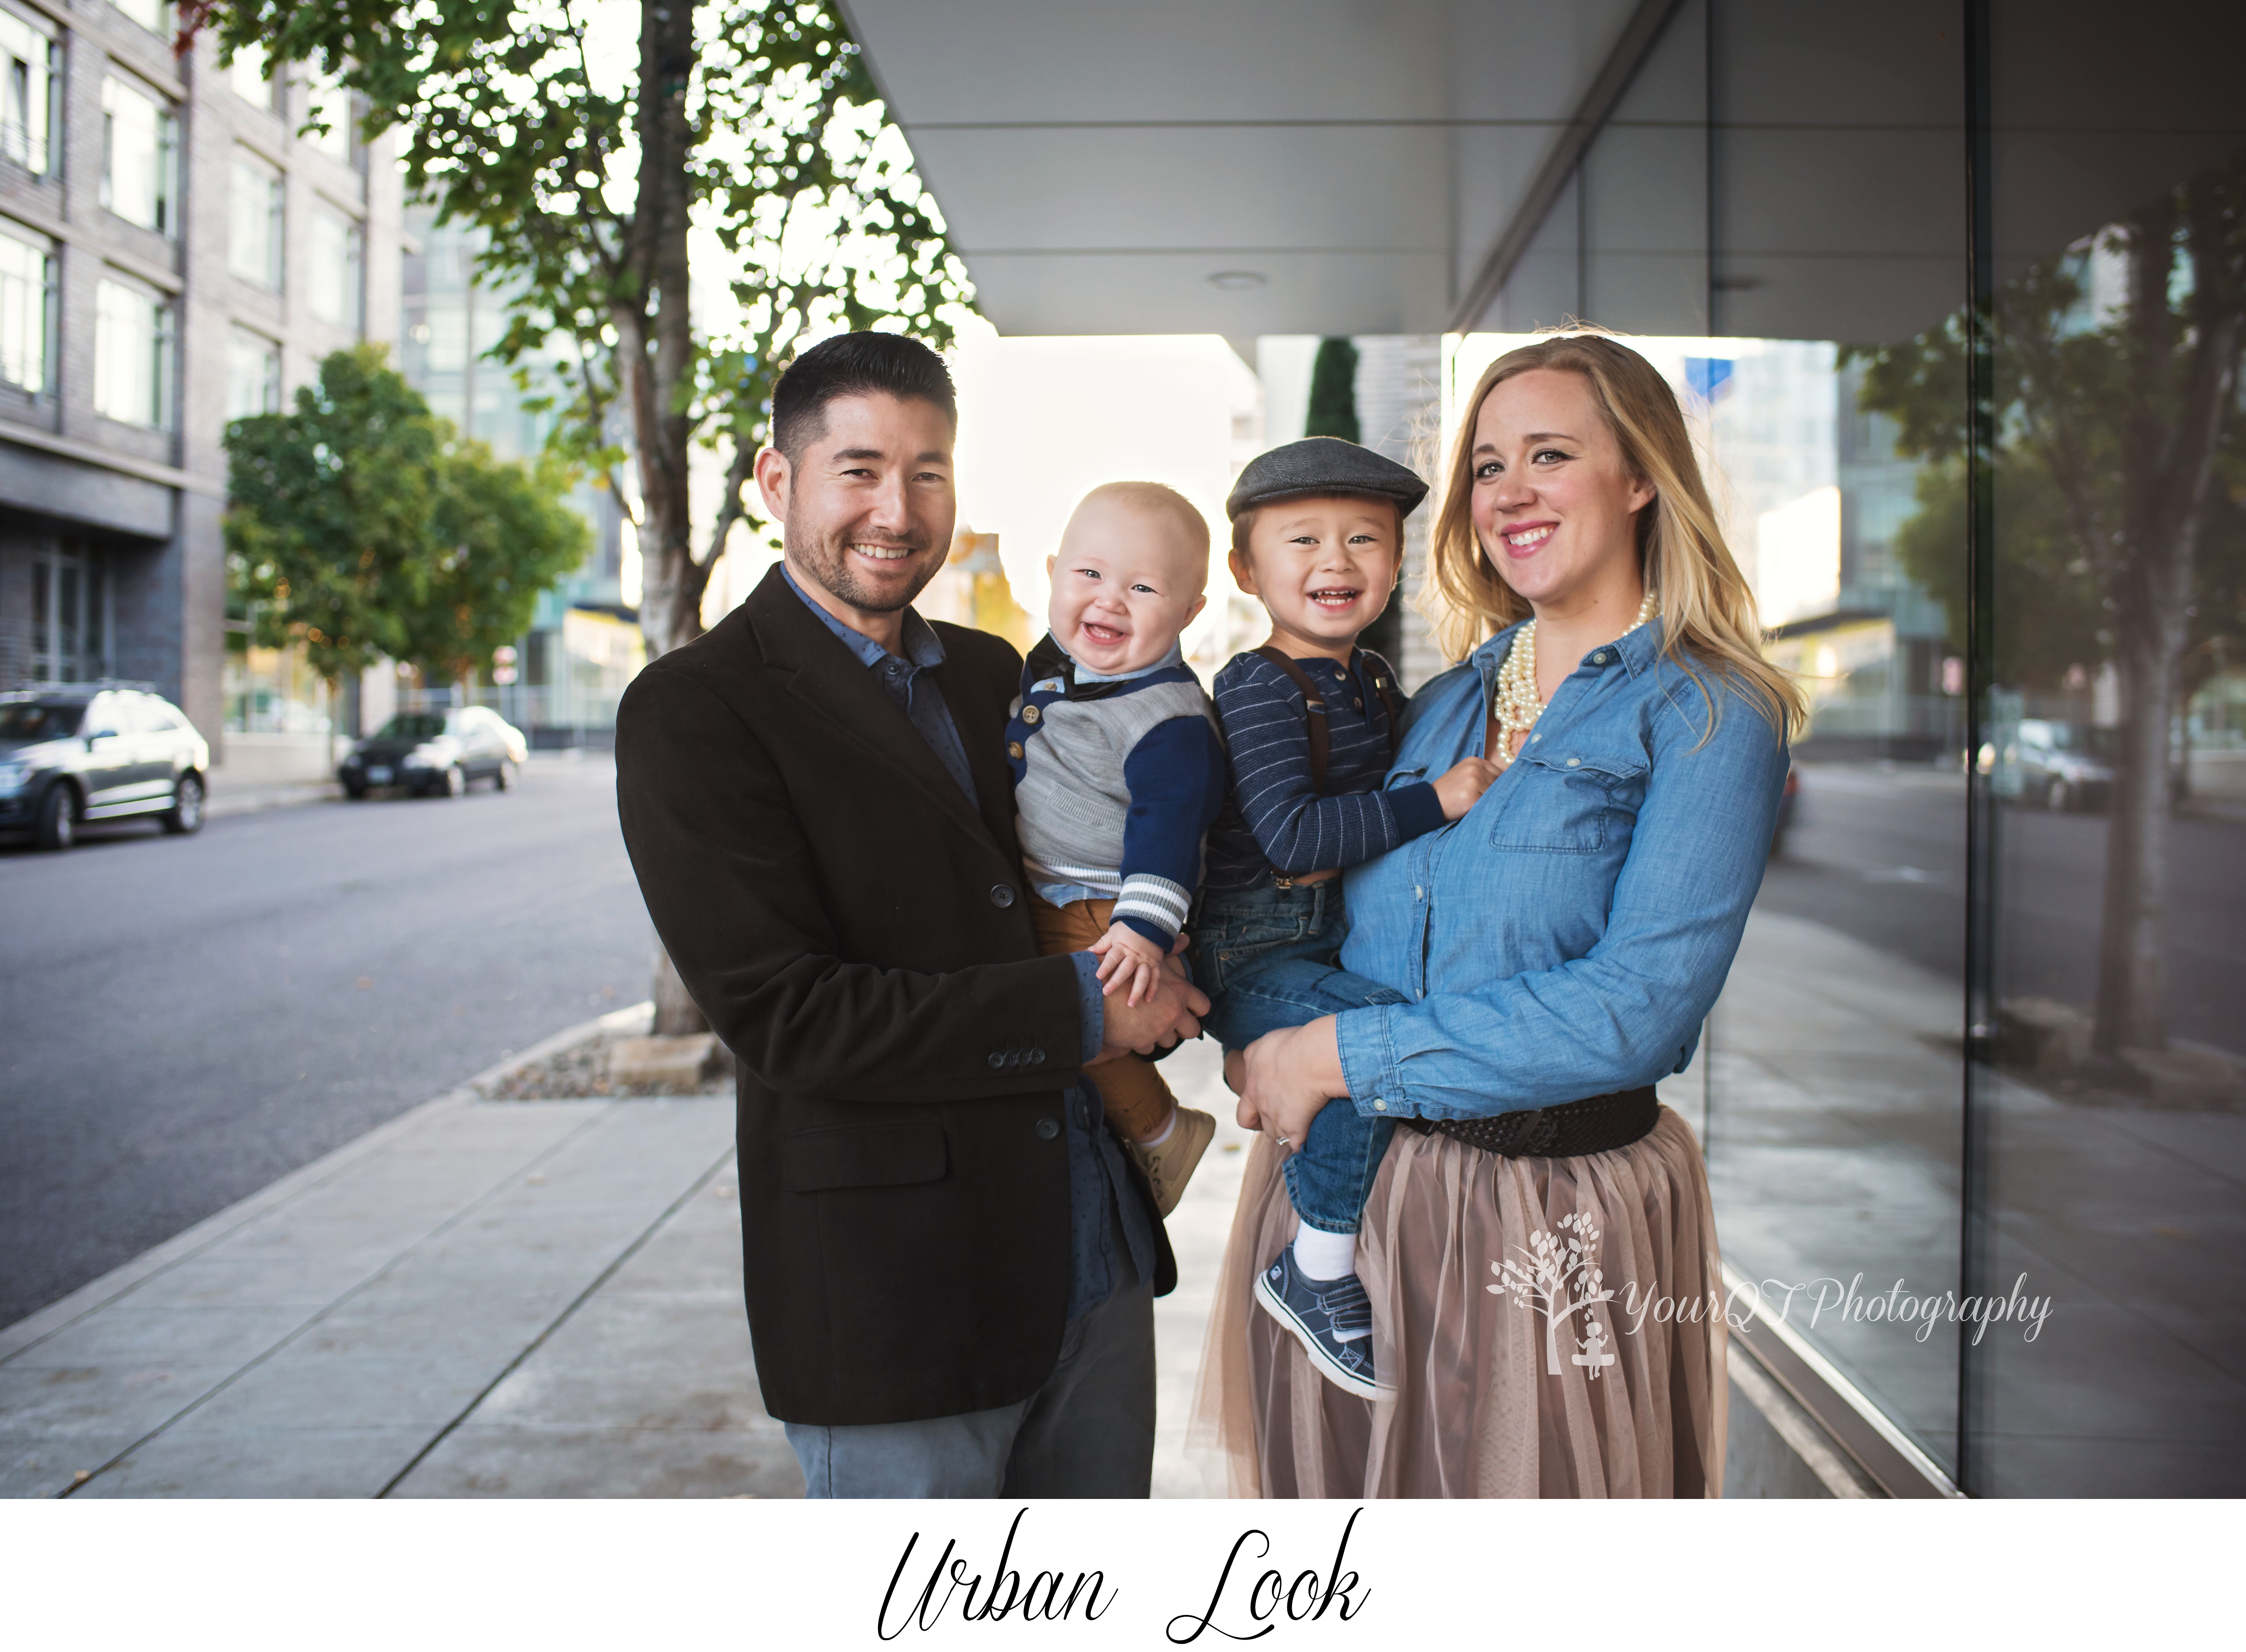


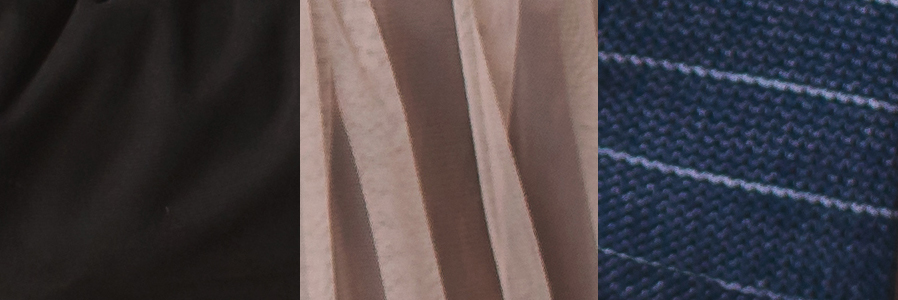
*Stylist Heather says: “As with most clients, I started with the mom here. I wanted to put her in something feminine and fun, but simple. This particulate combo (high waist skirt and chambray button up) is very flattering on most women! My vision was to have the family in a modern day vintage inspired look. When prepping wardrobe for urban locations, I tend to dress families more “trendy” and dressy. Layers are always good, no matter the setting. The boys are layered in coordinating colors, but multiple styles and prints. Great accessories and shoes make outfits look complete and polished. Even for the little boys!”
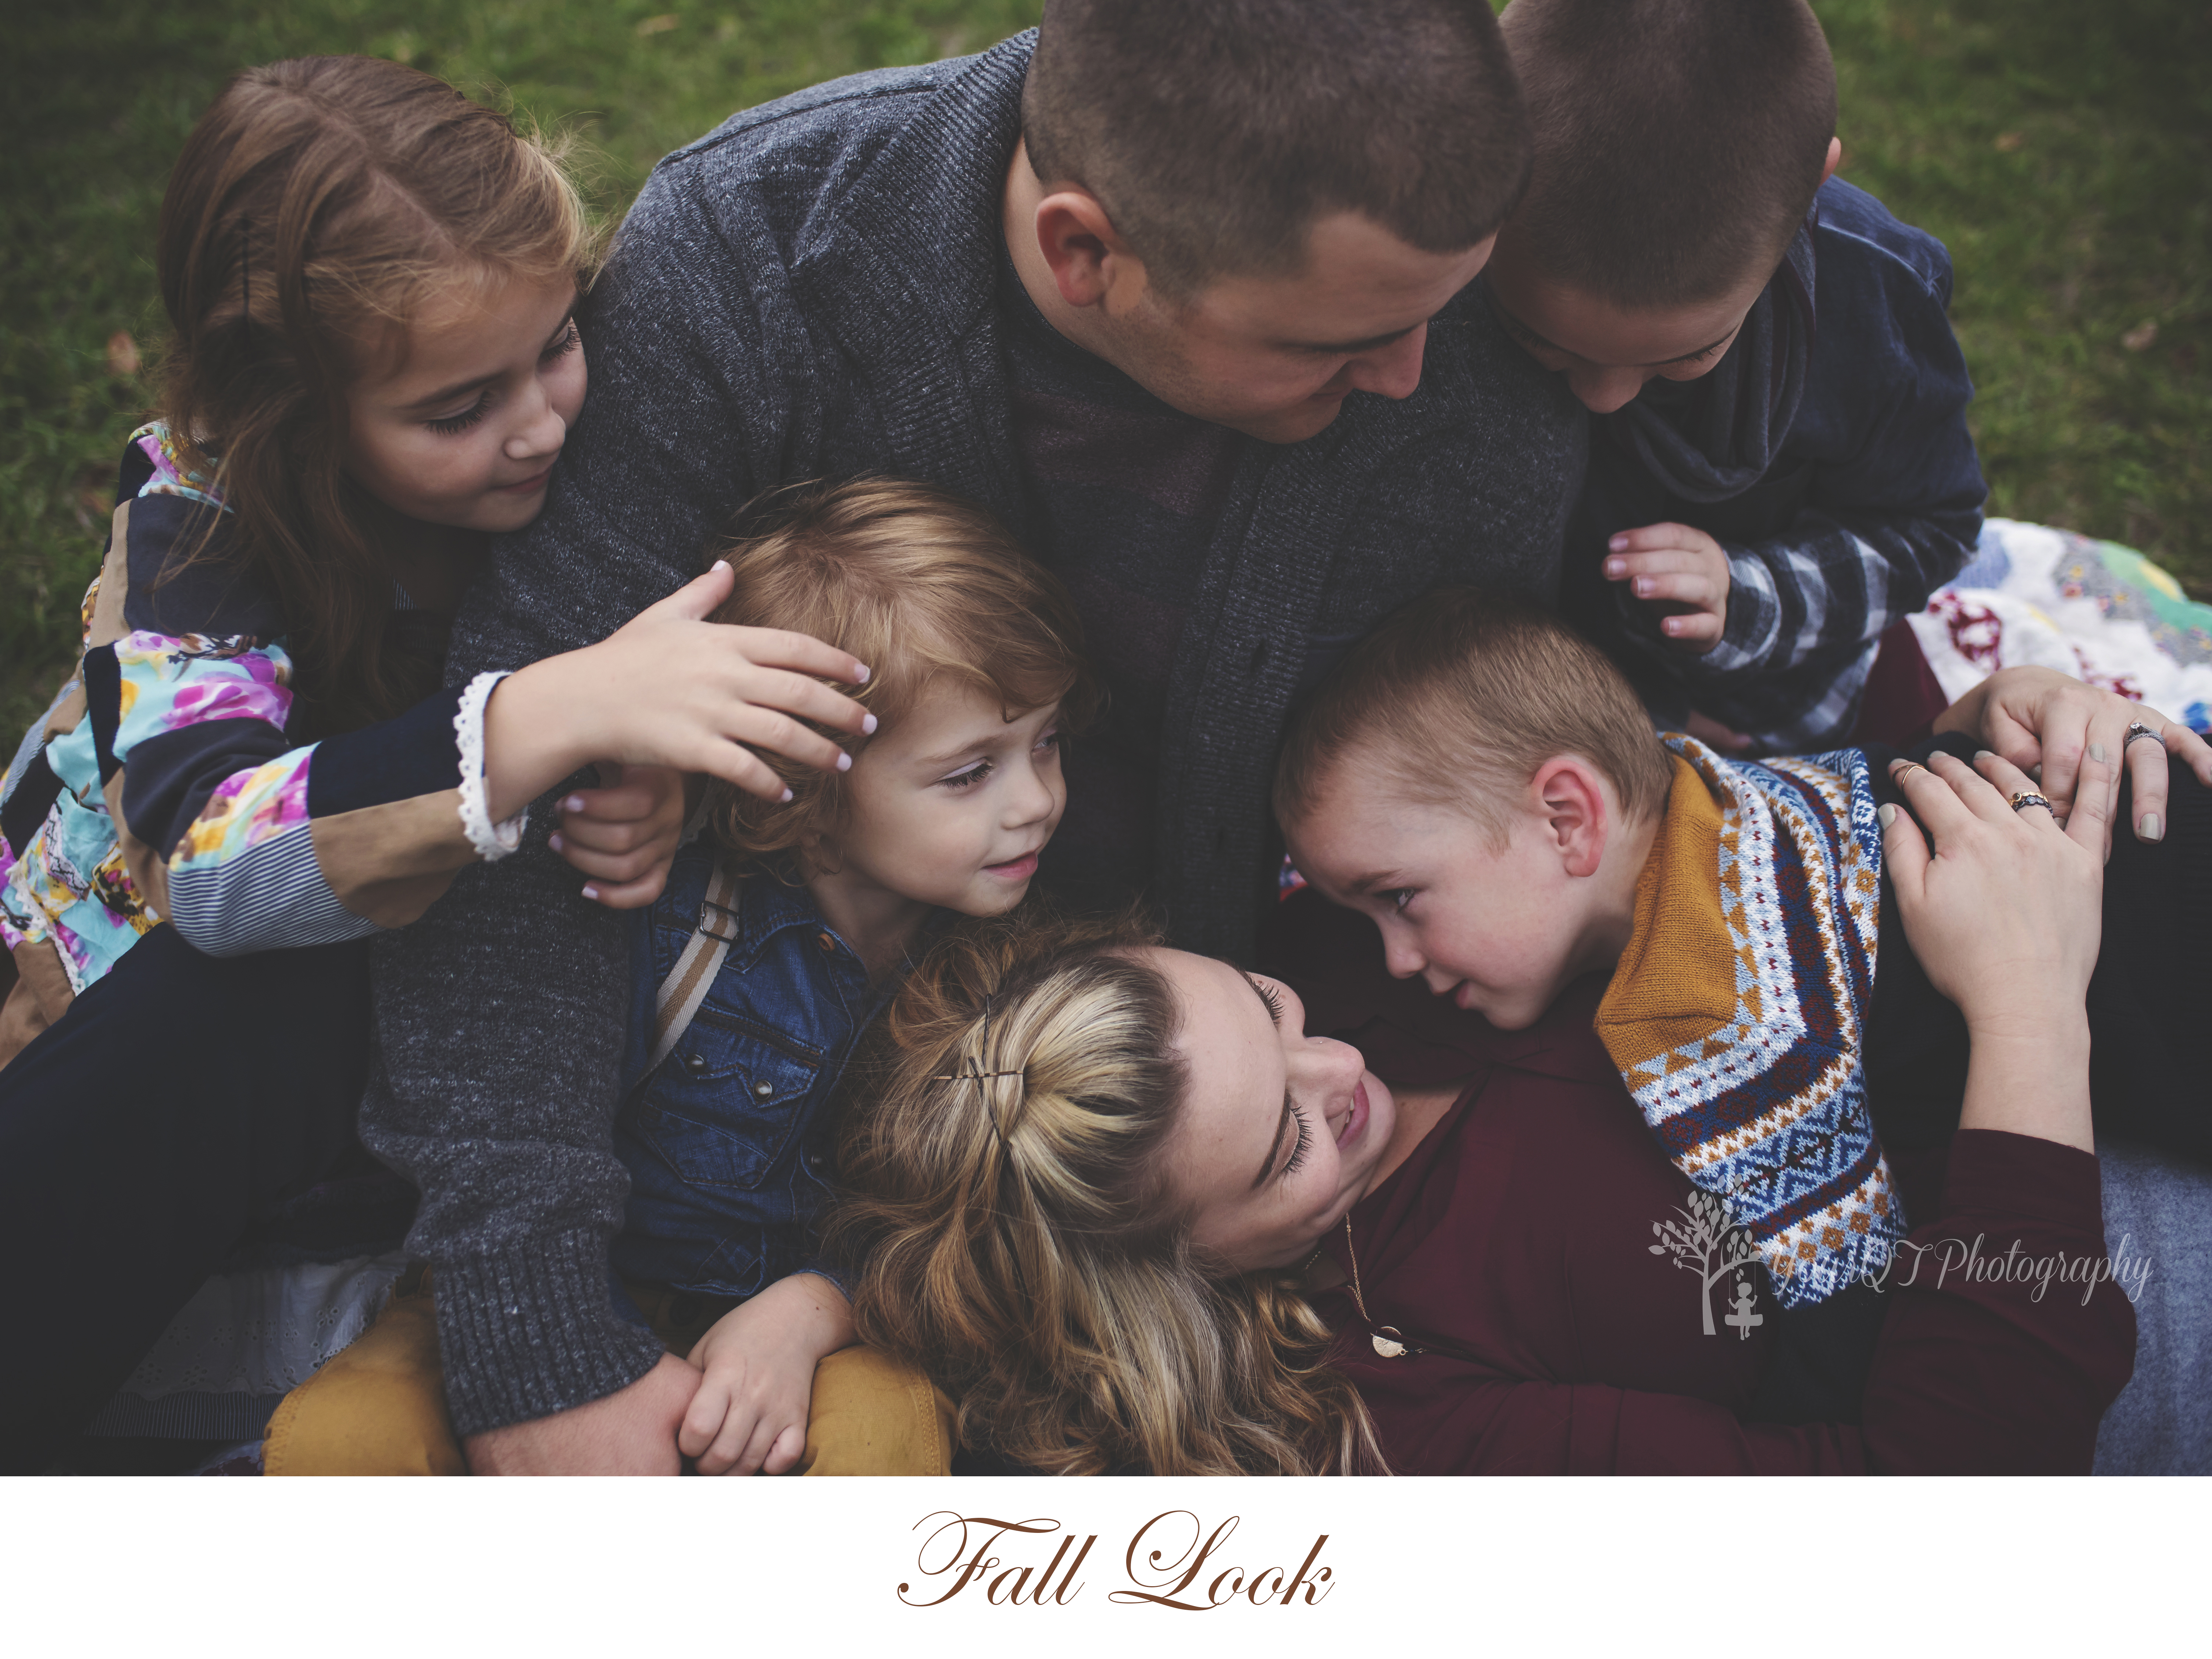


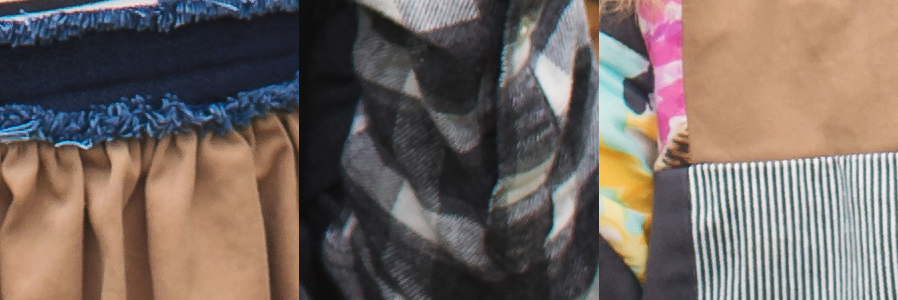
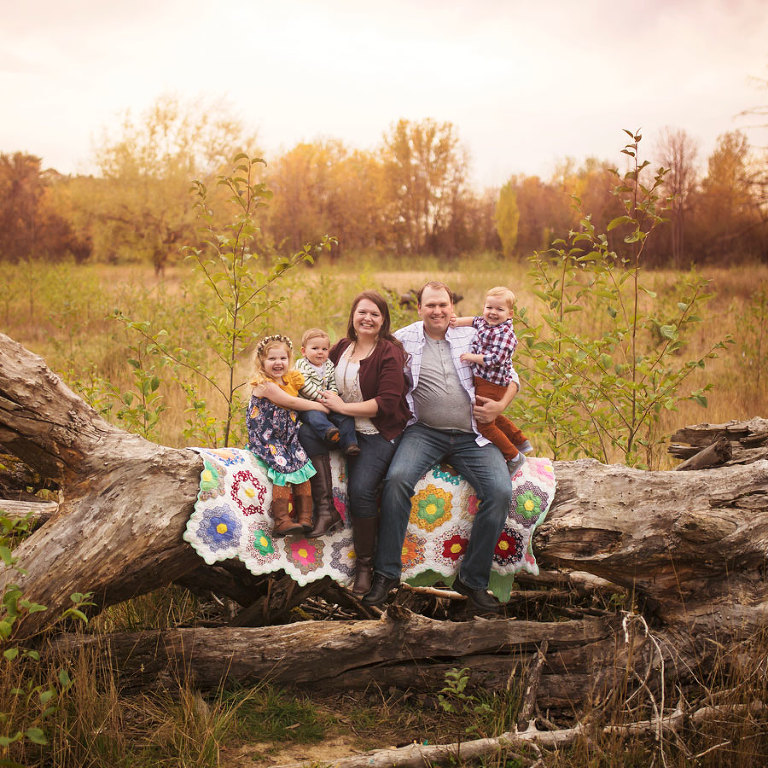
*Stylist Heather says: “This family’s wardrobe was pieced together around the little girls colorful, unique tunic top. I came across it when I was doing research on new boutiques and clothing lines. It has many colors, prints and textures. This can be intimidating, I know, but I just focused on pulling a color or two from this piece to coordinate with the other outfits. In other words, not every outfit has to contain every color in the palette you’ve chosen. And never be afraid to mix prints! Choose at least three colors to work with. This will give you more freedom when shopping. Fall and Winter looks are much easier to layer, but try to avoid getting too bulky with your pieces. Clothes should generally be more tailored or fitted to optimize flattery and avoid sloppiness. Since the kids are all dressed in heavy prints, colors and accessories, we went more neutral with mom and dad. This ensures balance and cohesiveness. I used accessories to really differentiate the boys’ outfits. I mean, how cute are these kiddos??!”


The written content and images in this guide are provided by Cherise Gunter of Your QT Photography. The contents of this guide have been provided as a reference for other photographers and their clients. This guide is to not be altered without the written consent of Cherise Gunter, Your QT Photography LLC.
Your QT Photography | www.yourqt.com





Jennifer Brandon - Great article!
Tonia - Love of great info thank you!
Sarah Gumbayan - Oh my gosh! Yesssss! You but pictures to what is so difficult to explain to clients! When you coordinate (not match) it makes for such a better final image! It is more intriguing to the person looking at the picture. And it makes you look longer instead of “oh, that’s nice.” And move on. Love this!
Bess - Wonderful, informative post! Great job!
MJ - I love this! This is one of the hardest things for everyone to coordinate! Great detail! Thanks for sharing!
Alina - These are amazing tips and I love your use of showing examples!! Well thought out!
Genevieve - These are wonderful tips for picking the perfect outfit for photos! I love all the examples and the use of the color wheel.
Alex - Excellent post! It will be so helpful to your clients!
Erika Ryan - This is amazing! Definitely going to send this to clients in the future 🙂